Archive for the ‘IT’ Category

Encrypted traffic between Check_MK server and client…

Friday, August 6th, 2021

This article gone describe how to configure Check_MK agent to communicated encrypted via internet.

Client config

On the client edit the file

/etc/check_mk/encryption.cfg

Below is a sample output of the file.

ENCRYPTED=yes
PASSPHRASE=’super-secret-password-example-321′

Server config

In Check_MK GUI go to Setup > Agent Access Rules > Encryption (Linux, Windows).

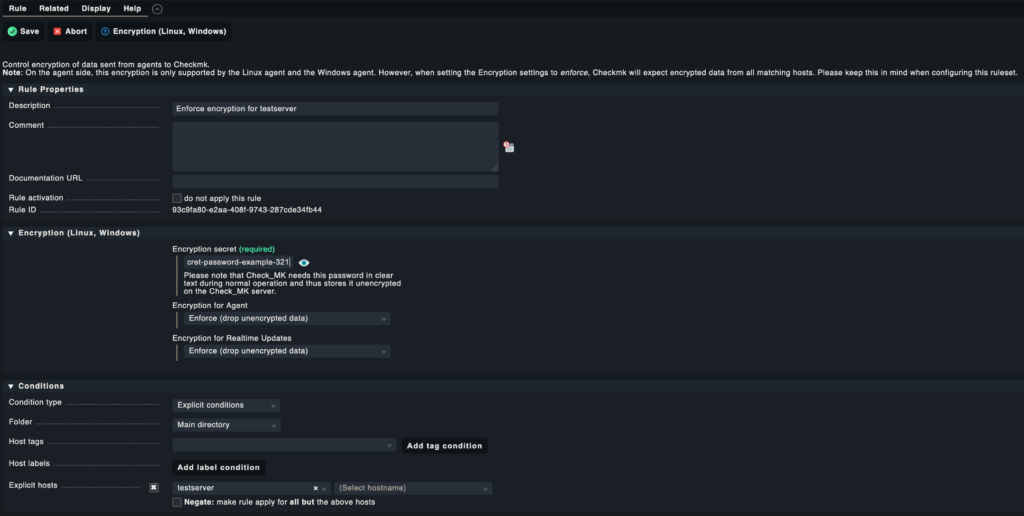
Input a name for the rule. Enter the password and specify witch host this should apply on. You can do the rules in different ways. This is just describes the basics

Below image shows the config in GUI.

Thanks for reading hope it helps someone.

Checkpoint Site 2 Site VPN to Fortigate…

Friday, May 7th, 2021

Site to site VPN in general is sometimes magic to setup between to different vendors firewalls. In this post i gone explain a strange thing i ran in to a few weeks ago and was not able to find any answers to then searching for it.

I was setting up a new tunnel between a Checkpoint VSX (Virtual Firewall) and a Fortigate firewall. Tunnel went up on both phase 1 and phase 2 all looked fine so far. We could send traffic from Checkpoint one way in the tunnel but bbot the other. If Fortigate side sent traffic it never showed up in logs on the Checkpoint side.

After much investigation and tips from a former coworker i found out on Checkpoint side you need to add the remote networks to be exempted in anti spoofing on external interface (outside). After adding an exception group in Checkpoint for the remote subnets all started working fine.

To add an exception in Checkpoint VSX double click the node and go to Topology > External Interface > Topology > Anti spoofing on the bottom of the settings page. Create a group and add all exceptions in it and apply it in the settings. I hope this short info helps someone else online becouse i could not find any info at all about this.

Problem mapping drive from host to VirtualBox VM…

Tuesday, May 8th, 2018

For a few days ago Microsoft release a new big update for Windows 10. After the update my share of my host machine didn´t work to my Windows 10 VM. I looked around a lot on internet. But to conclude the simple solution was just to reinstall the Guestaddition in windows and reboot and all worked as it should again. Adding this post and hope it will help someone else.

Setup Cisco VPN client in Windows 10…

Thursday, April 27th, 2017

This post describes in short how to install the old Cisco VPN client in Windows 10.

DISCLAIMER: I take no responsibility if something of this steps brakes anything. See what you have a recent backup first!.

Step 1
First close all applications.

Step 2
Now run winfix.exe can be found here.

Step 3
Now run the installer for the Dell SonicWall VPN client file found here. (This needs to be installed to get the client to work.)

Step 4
Now install the Cisco VPN client software vpnclient-winx64-msi-5.0.07.0440-k9.exe by unpacking the exe and run vpnclient_setup.msi.

Step 5
Now start regedit as an administrator and go to the below path and locate key:Display Name

HKEY_LOCAL_MACHINE\SYSTEM\CurrentControlSet\Services\CVirtA

Change it to below value

Cisco Systems VPN Adapter for 64-bit Windows

Step 6
Now reboot the computer to finish up.

Now all should work fine after this steps. Let me know if something is not working and maybe i can help solv it.

LAN Turtle

Wednesday, July 29th, 2015

LAN Turtle

Beställde hem en sån här igår. Ska bli spännade att testa denna spännade produkt och se vad man kan hitta på för skoj med den. Här finns länk till mer info samt en länk var man kan köpa den.

Kompilera FiSH till irssi…

Wednesday, July 8th, 2015

I denna lilla guide kommer jag beskriva hur man kan kompilera FiSH för irssi i Linux. Nedan är testat både på Ubuntu 14.04 LTS samt Debian 8.x.

Steg 1
Nedan paket behöver installeras till att börja med.

apt-get install cmake pkg-config openssl libssl-dev libglib2.0-dev irssi-dev build-essential git

Steg 2
Nu är det dags att ladda ner FiSH kälkod och det gör jag via git. Kör nedan kommando. (Kan ändrats så kolla källor och besök FiSH git sida.)

git clone https://github.com/falsovsky/FiSH-irssi.git

Steg 3
Gå in i den klonade mappen som skapts där du stod när du körde git clone kommandot. Nu är det dags att konfigurera och kompilera FiSH.
(punkten efter cmake ska vara med)

cmake .

Exempel

root@test:~/fish/FiSH-irssi# cmake .
— Using glib-2.0 2.40.2
— Using OpenSSL 1.0.1f
— The module will be installed to /usr/lib/irssi/modules
— You can change it with ‘cmake -DCMAKE_INSTALL_PREFIX:PATH=/usr .’
— Configuring done
— Generating done
— Build files have been written to: /home/test/fish/FiSH-irssi

Dags att kompilera kör nedan kommando

make

Option om man vill installera det till /usr/lib/irssi/modules (/usr/local/lib/irssi/modules/)

make install

Exempel

root@test:~/fish/FiSH-irssi# make
[ 16%] Building C object src/CMakeFiles/fish.dir/base64.c.o
[ 33%] Building C object src/CMakeFiles/fish.dir/blowfish.c.o
[ 50%] Building C object src/CMakeFiles/fish.dir/inifile.c.o
[ 66%] Building C object src/CMakeFiles/fish.dir/DH1080.c.o
[ 83%] Building C object src/CMakeFiles/fish.dir/FiSH.c.o
[100%] Building C object src/CMakeFiles/fish.dir/password.c.o
Linking C shared module libfish.so
[100%] Built target fish

libfish.so som man är ute efter här ligger i undermappen src/ .

Om allt gått bra ska man nu ha en fungerande binär av FiSH för att använda i irssi.
Det är lite nya inställningar och dom sköts nu via /set i irssi. Se nedan info om vilka parametrar som finns. Dessa är modifierade för hur jag vill ha den.
Med dessa inställningar visas krypto symbolen på slutet av raden. Vill man ha den i början av raden byt till 1.

[fish]
auto_keyxchange = ON
mark_broken_block = &
mark_encrypted = ·
mark_position = 0
nicktracker = ON
plain_prefix = +p
process_incoming = ON
process_outgoing = ON

Källor:
https://github.com/falsovsky/FiSH-irssi
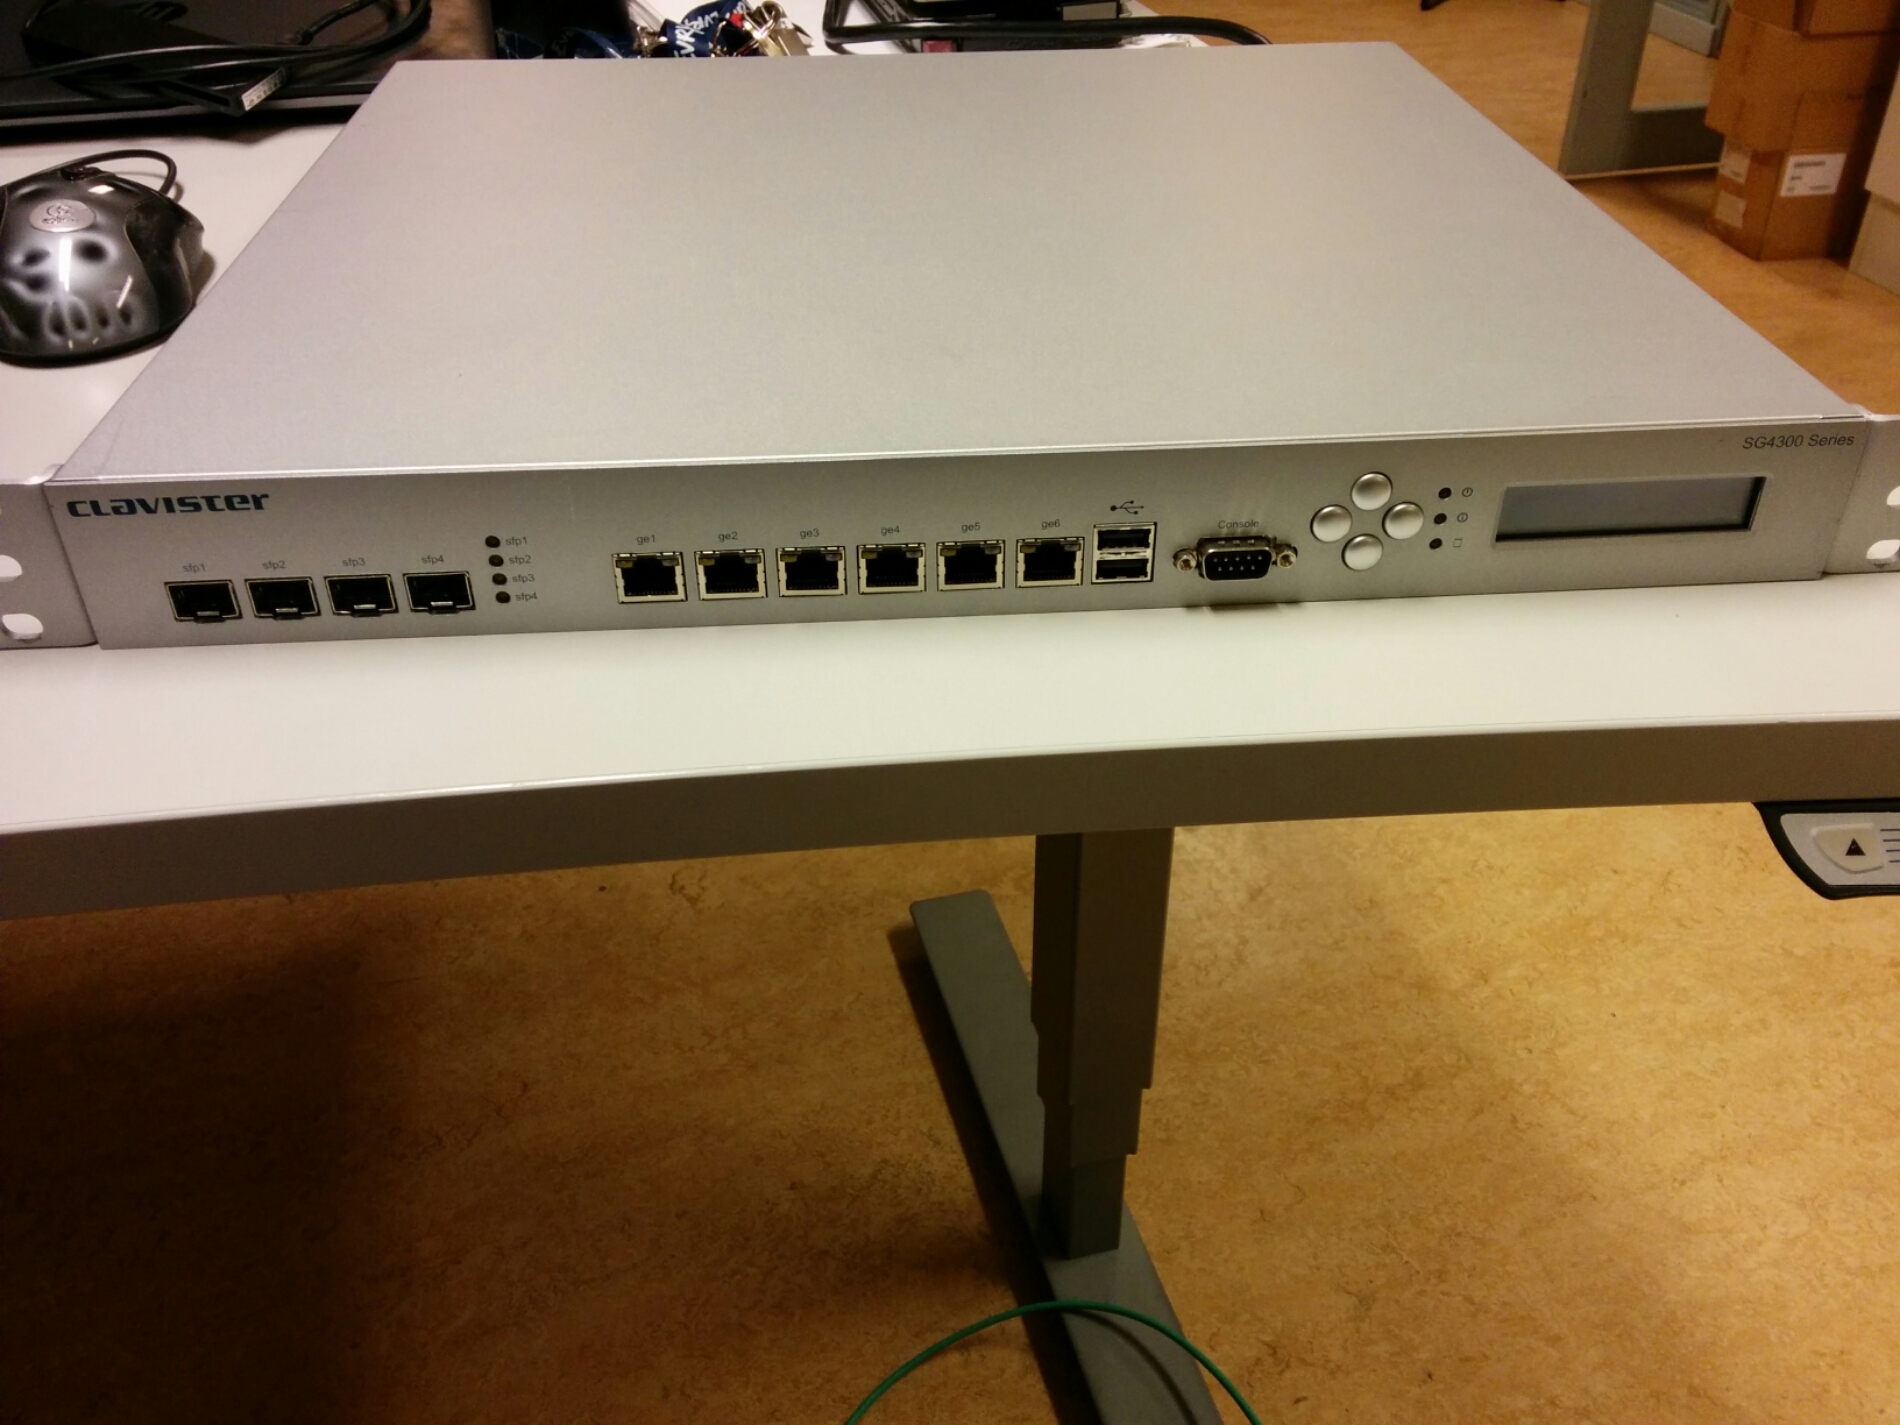
Clavister + pfSense = sant

Monday, February 9th, 2015

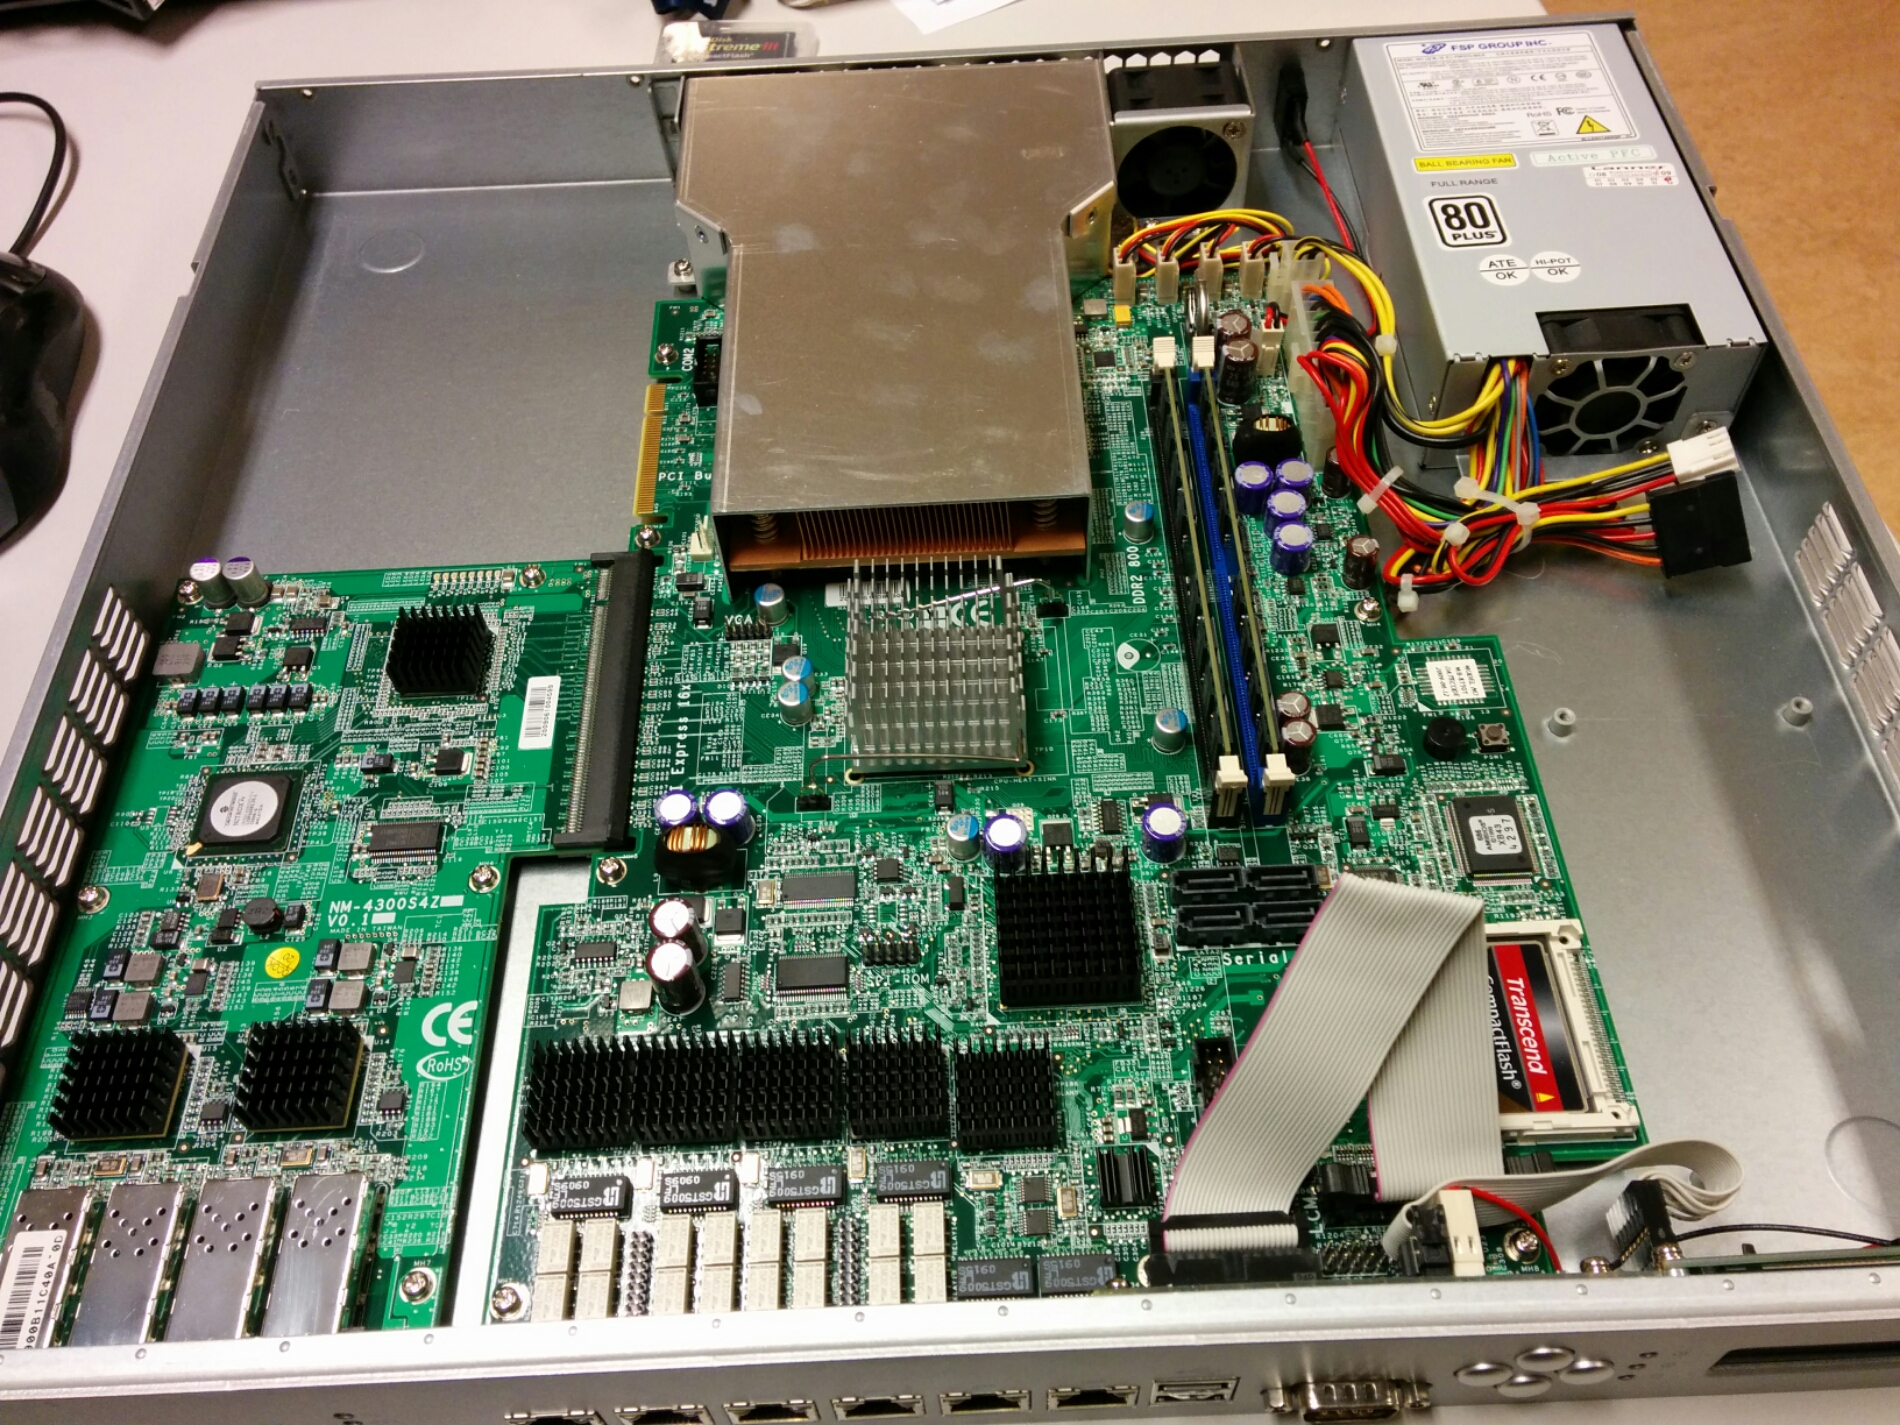
Jag fick höra av en bekant att det ska vara enkelt att köra pfSense på gammla clavister brandväggar då det är vanlig PC hårdvara i dom. Jag beslöt mig för att testa då jag hadde en liggande.
Jag hittade denna länk och kunde då konstatera att jag bör ha den som heter enligt listan pfSense-2.2-RELEASE-size-arch-nanobsd.img.gz.

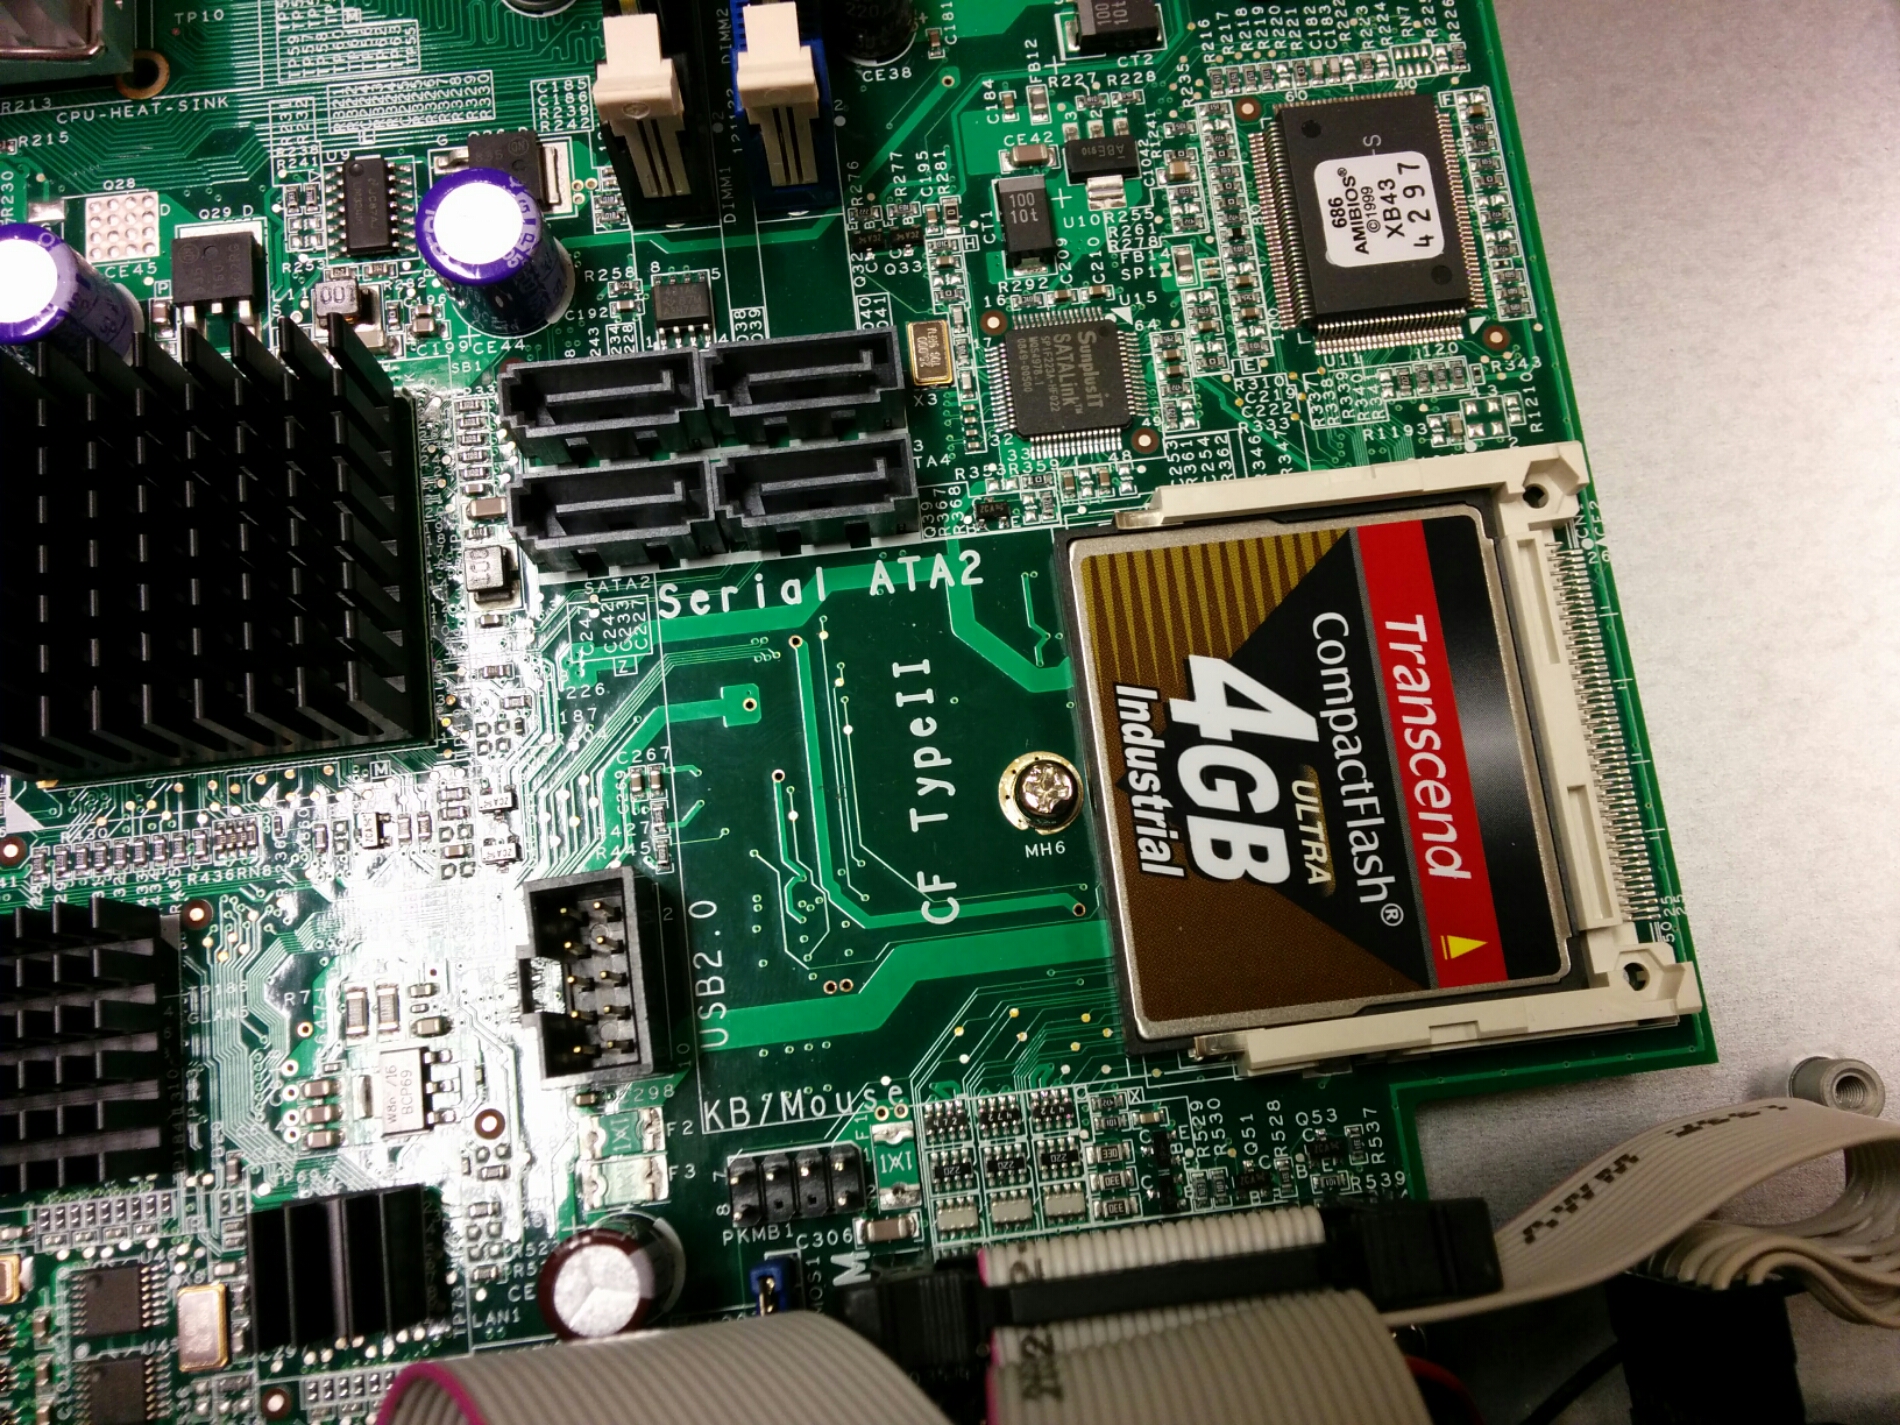
Jag använde mig sedan av programet Image Writer for Windows / Win32 Disk Imager i windows för att skriva ut filen till CF kortet jag hadde.
Se länken här för information om andra sätt att skriva image filen till CF kort.
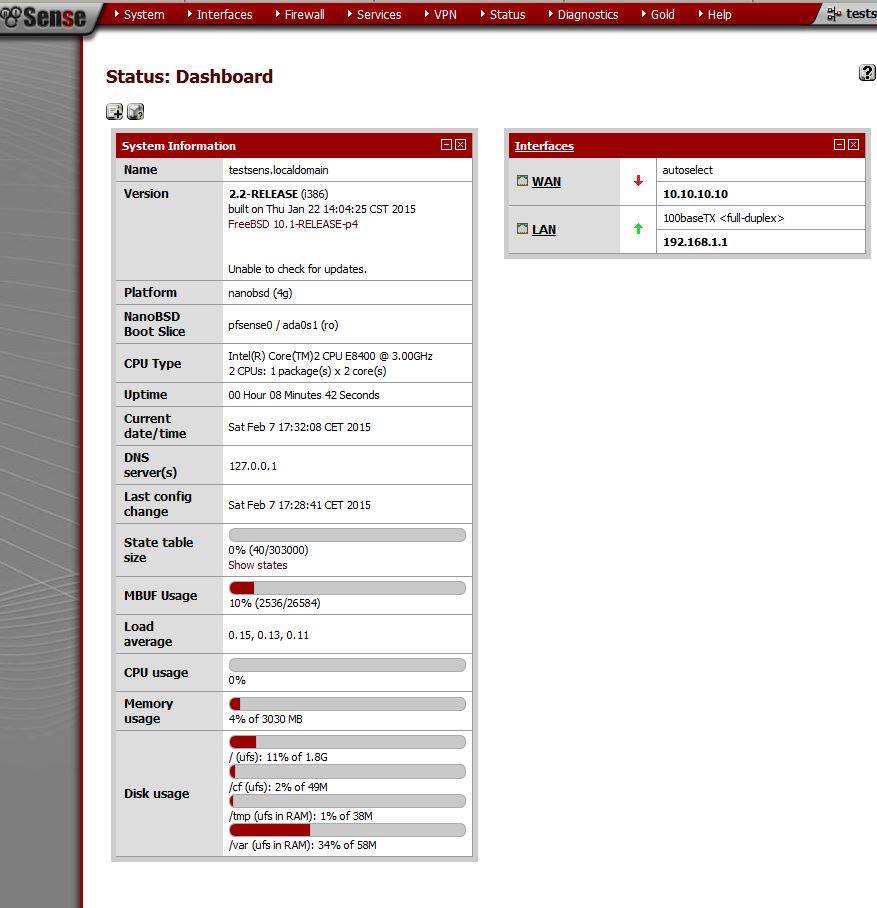
Bytte ut orginal CF kortet i enheten och voula det fungerade clavistern bootade pfSense.

NOTE: Numreringen av interfacen är inte logisk för fem öre så man får testa sig fram till vilket interface som är vad i pfSense namnstandard.

image

image

image

image

Ny liten skönhet…

Thursday, February 5th, 2015

image

image

image

image

image

image

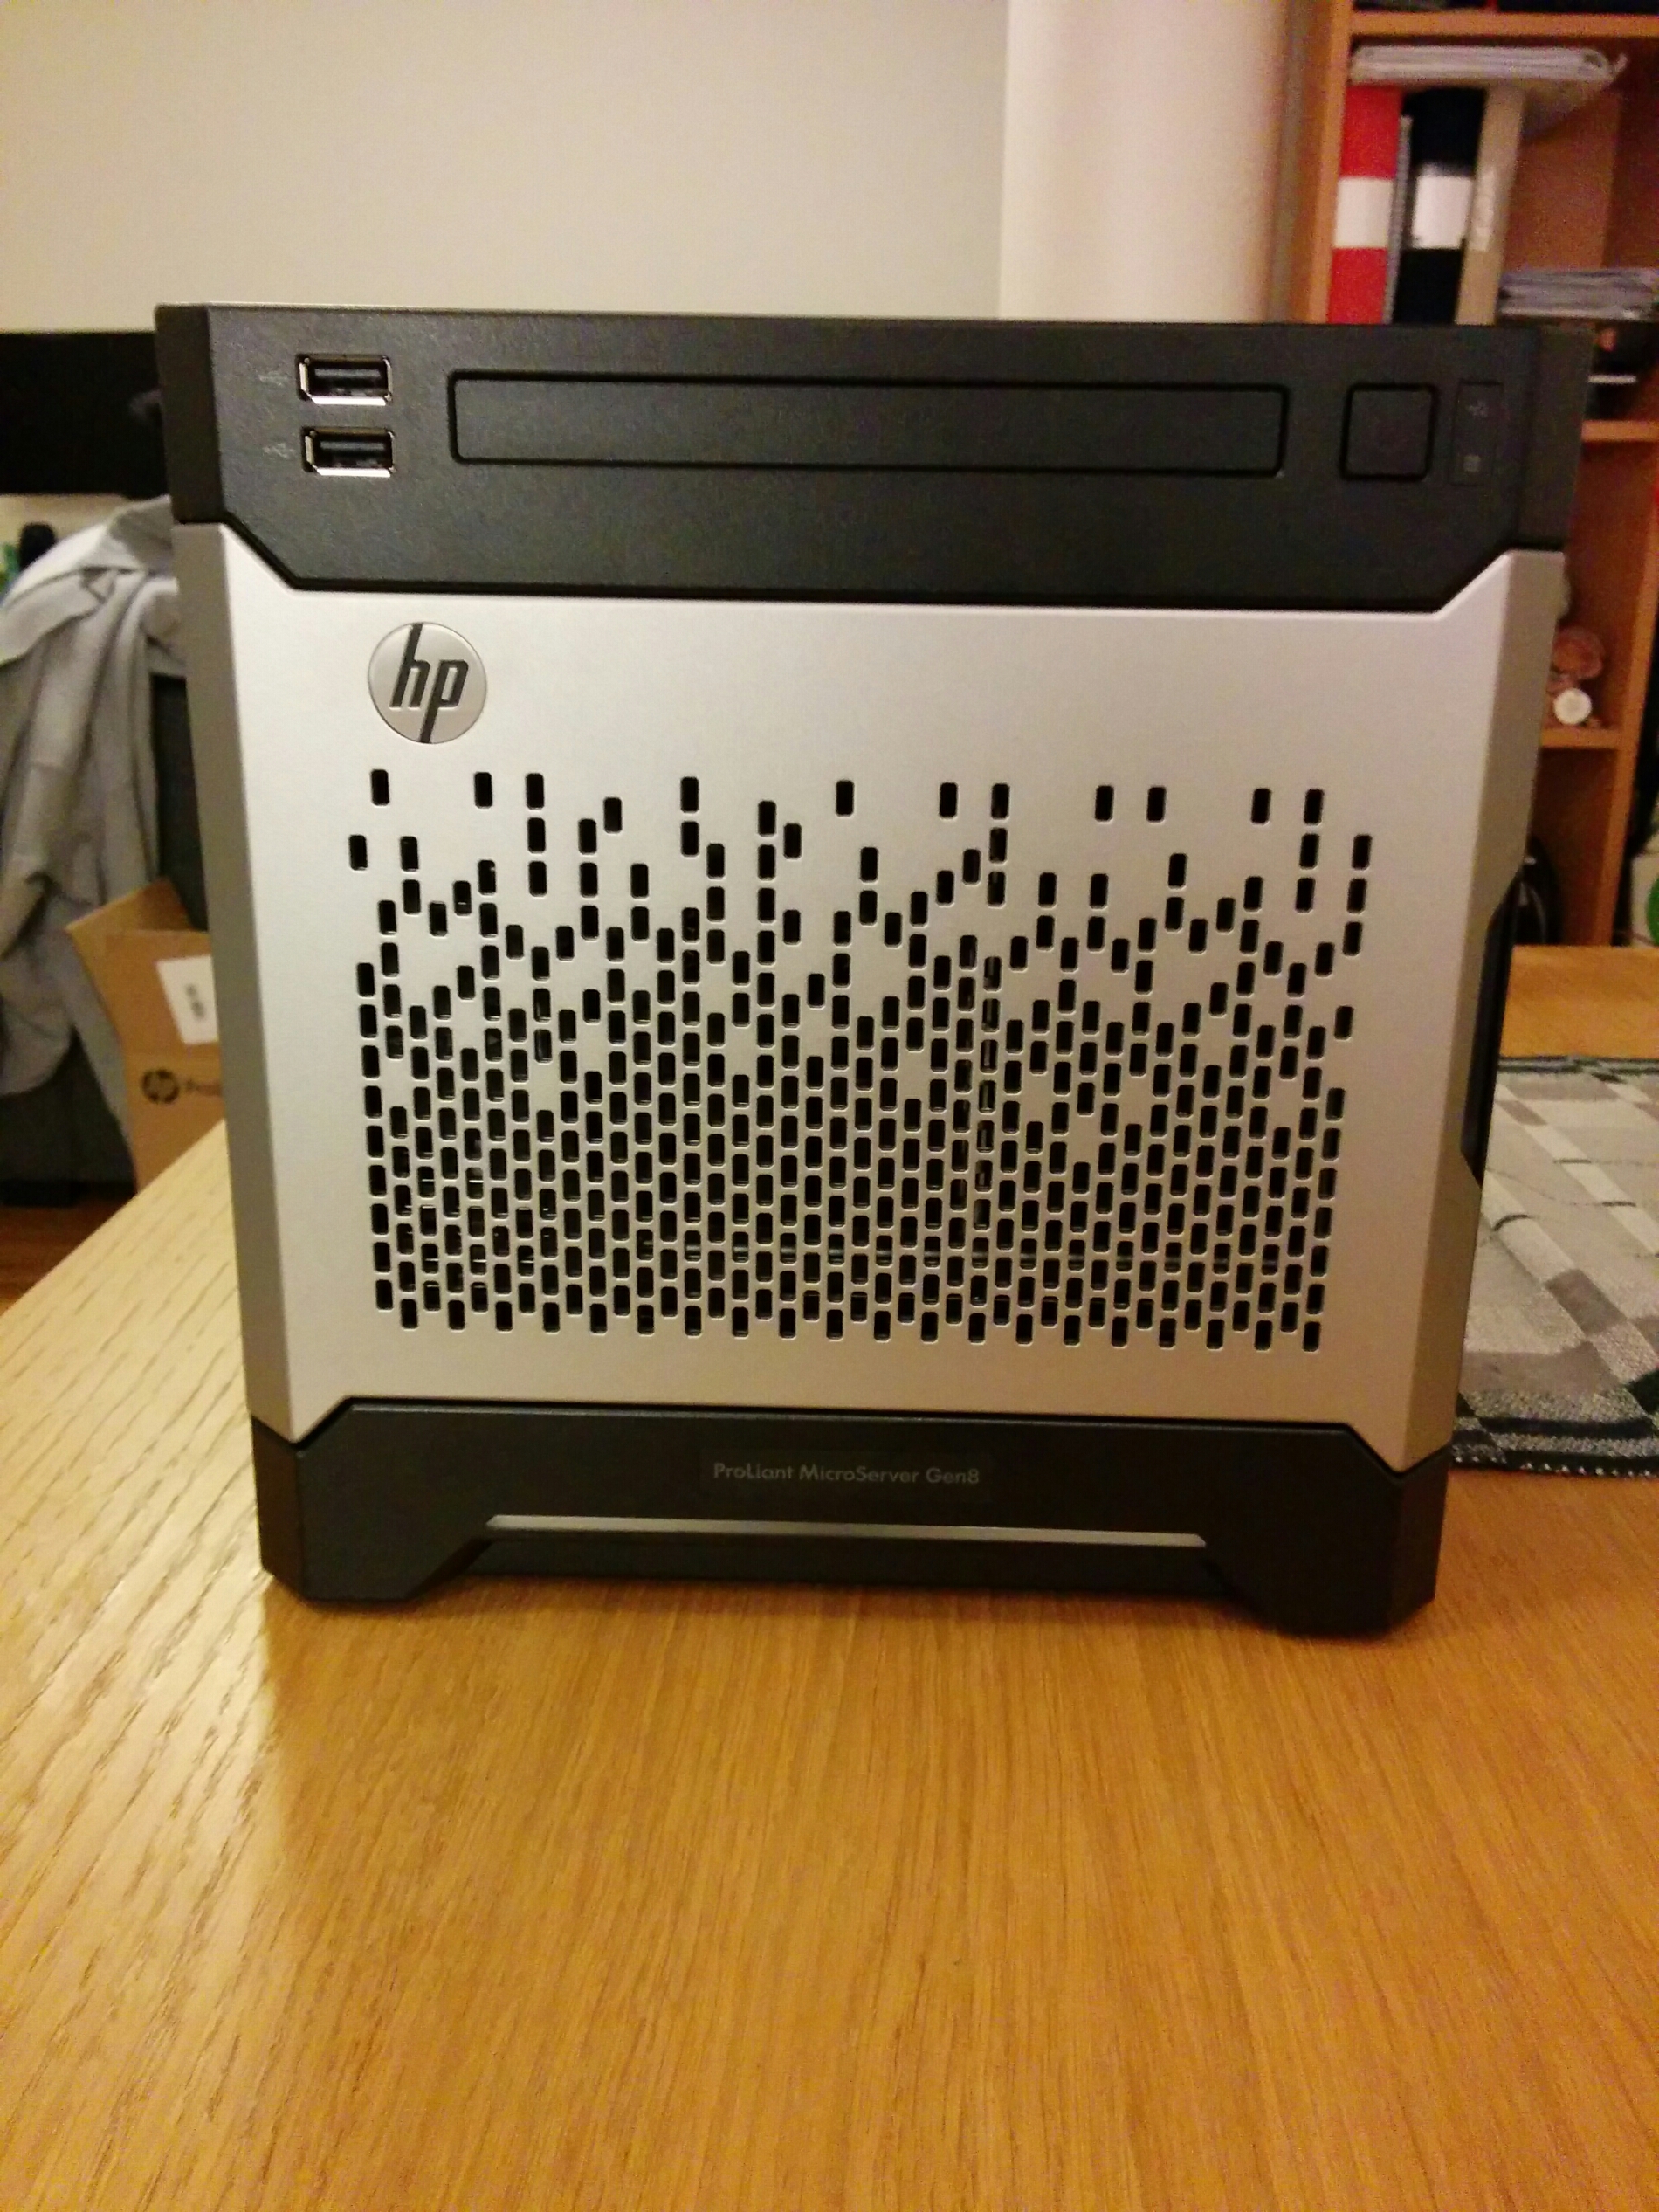
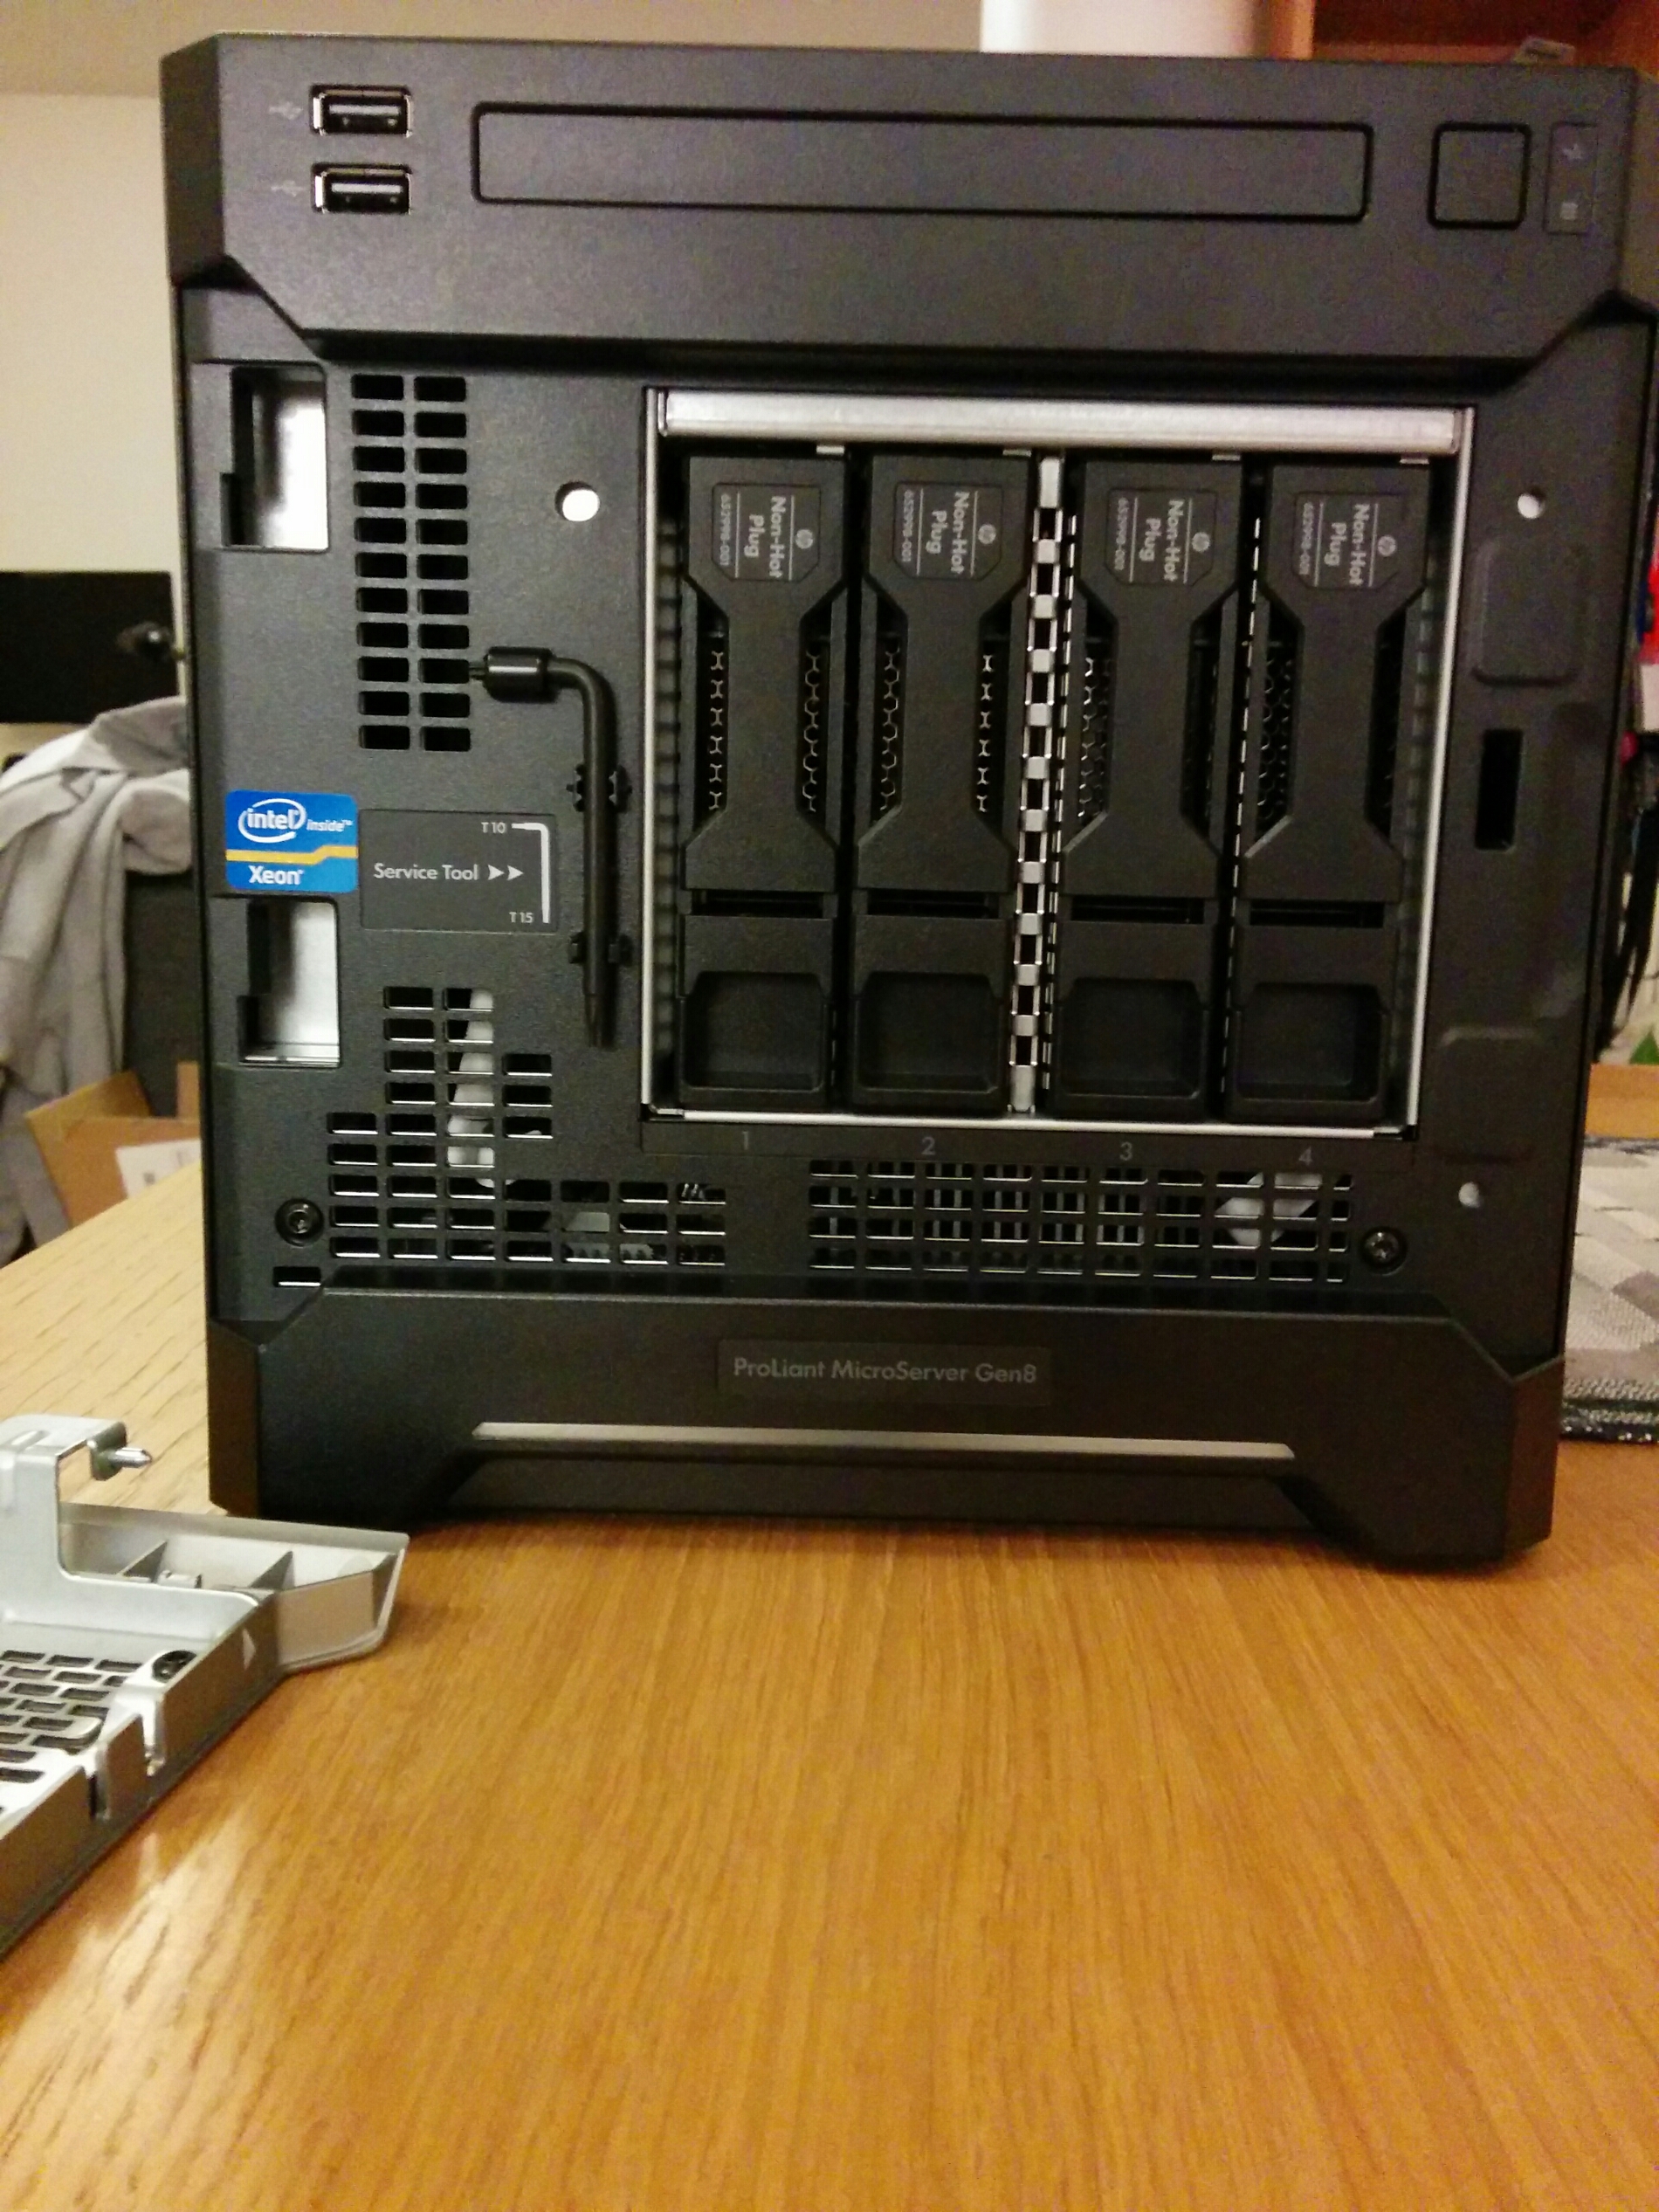
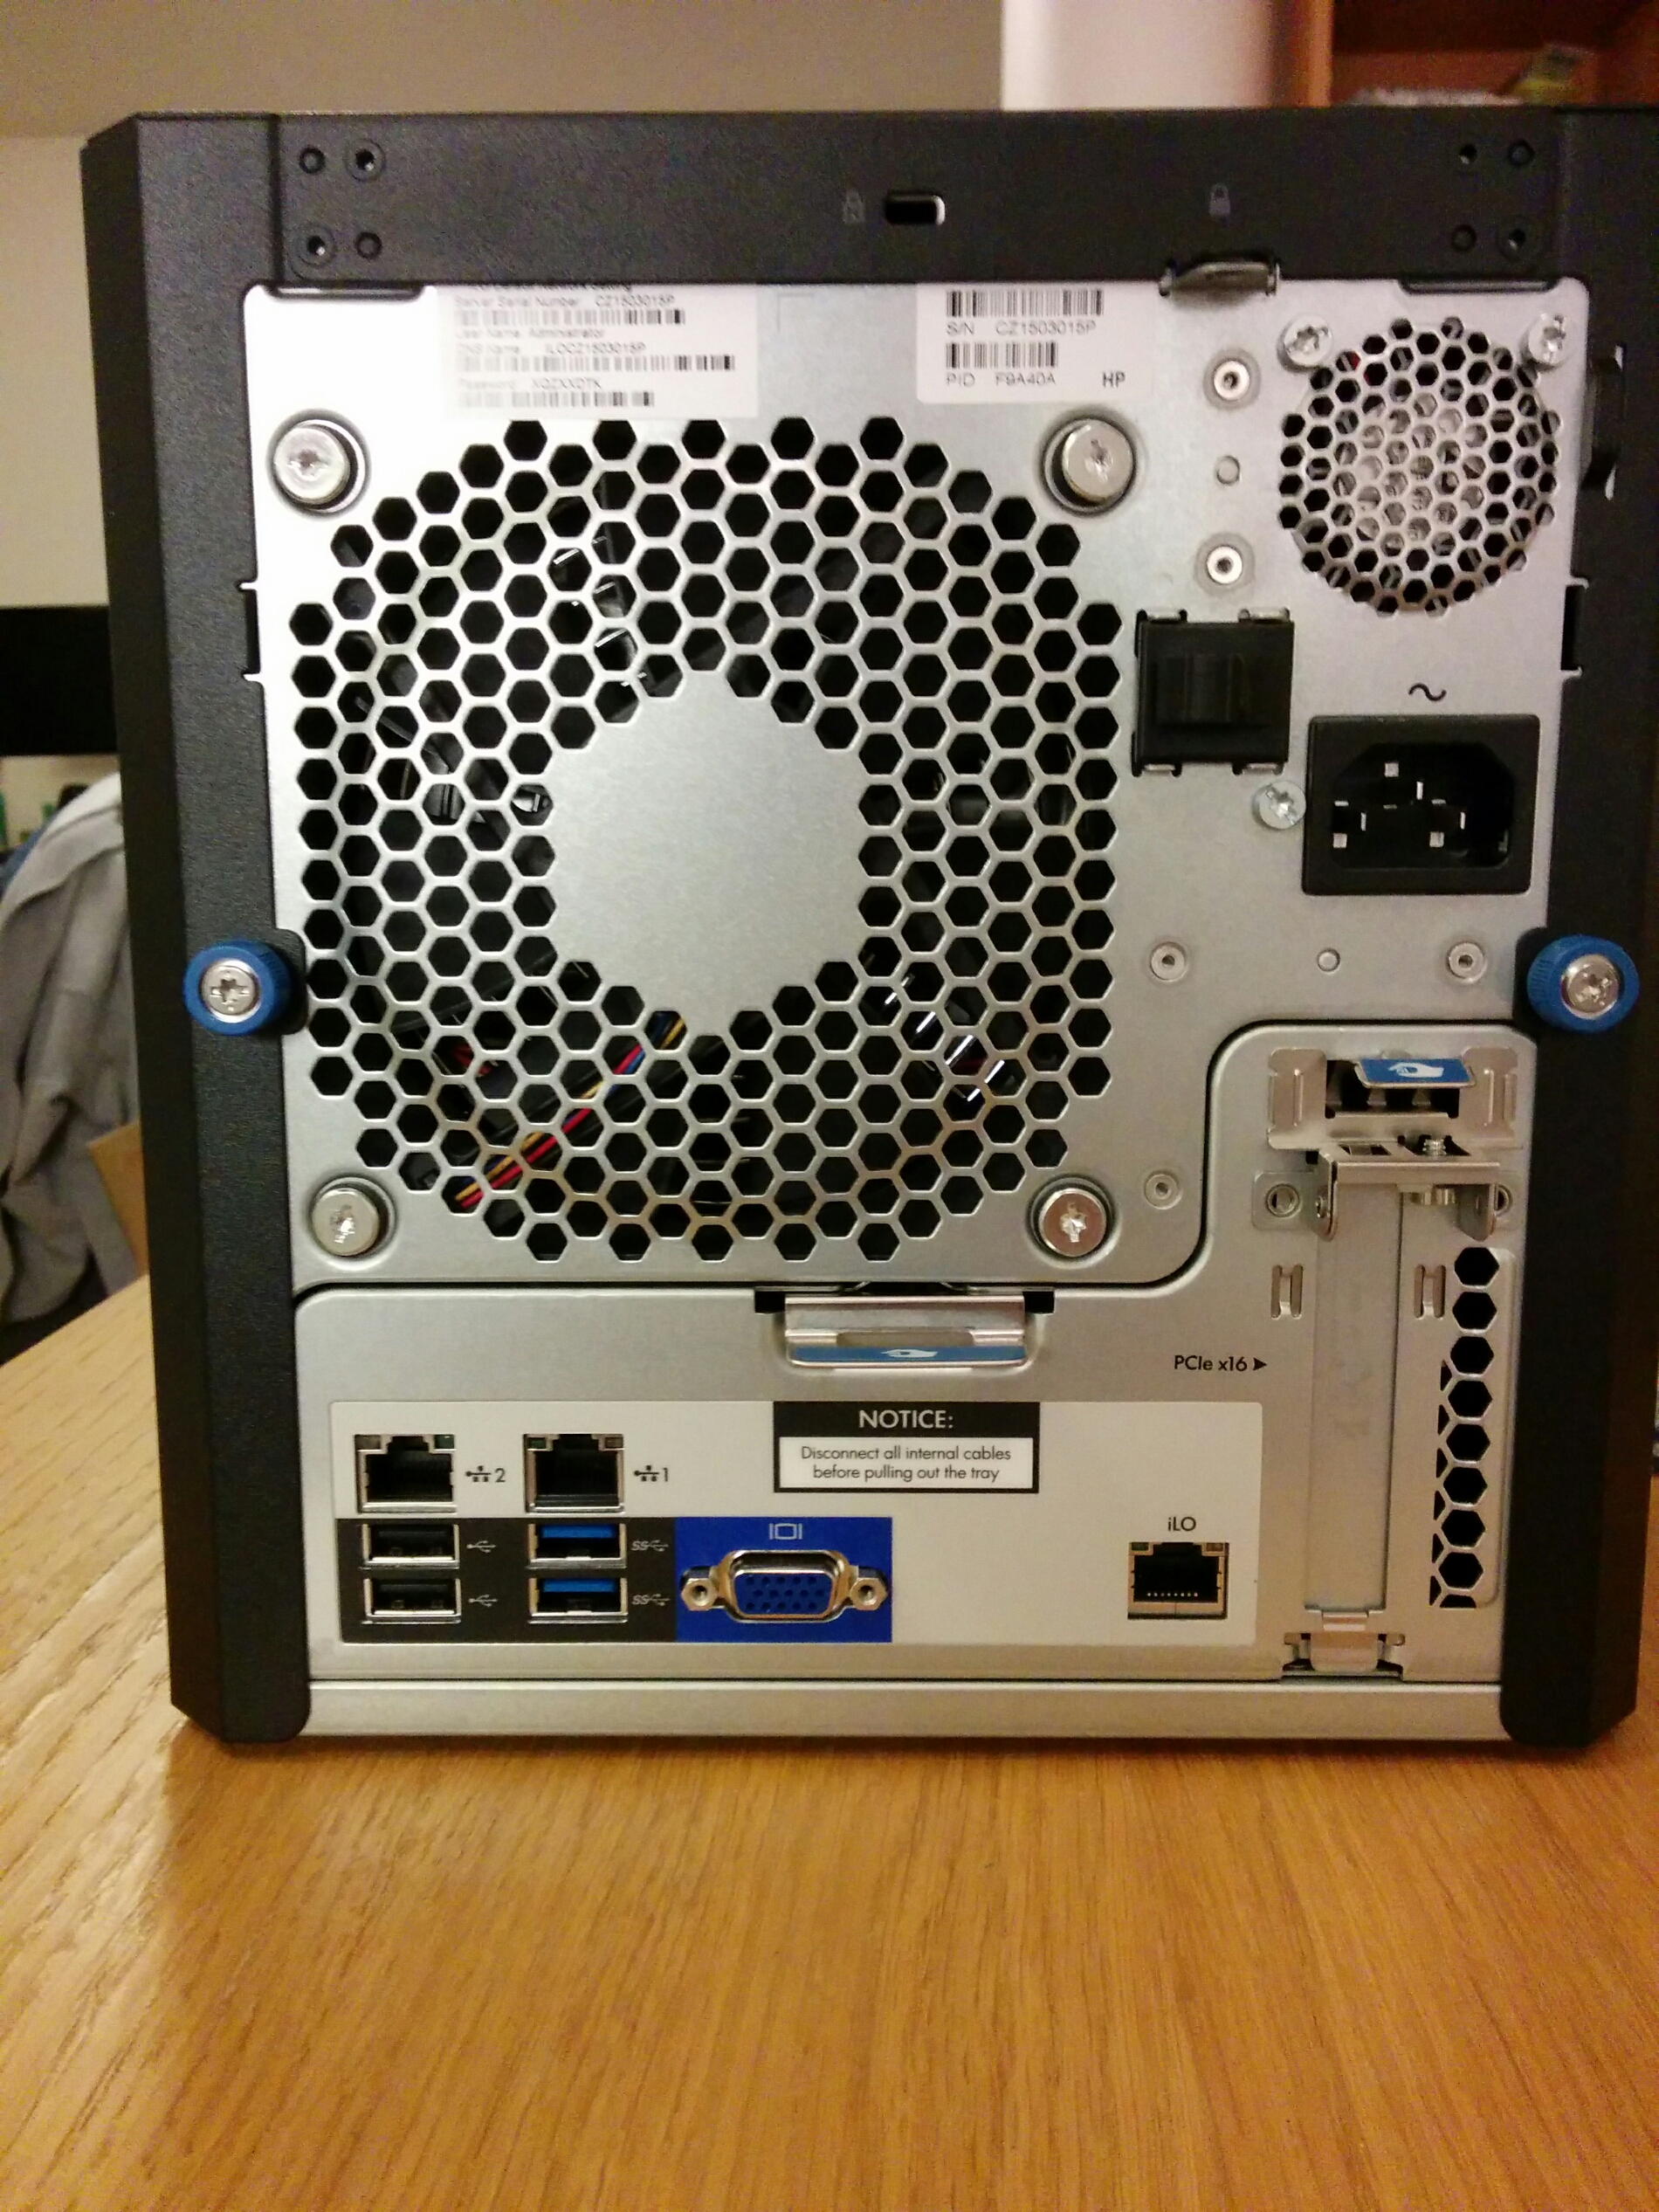
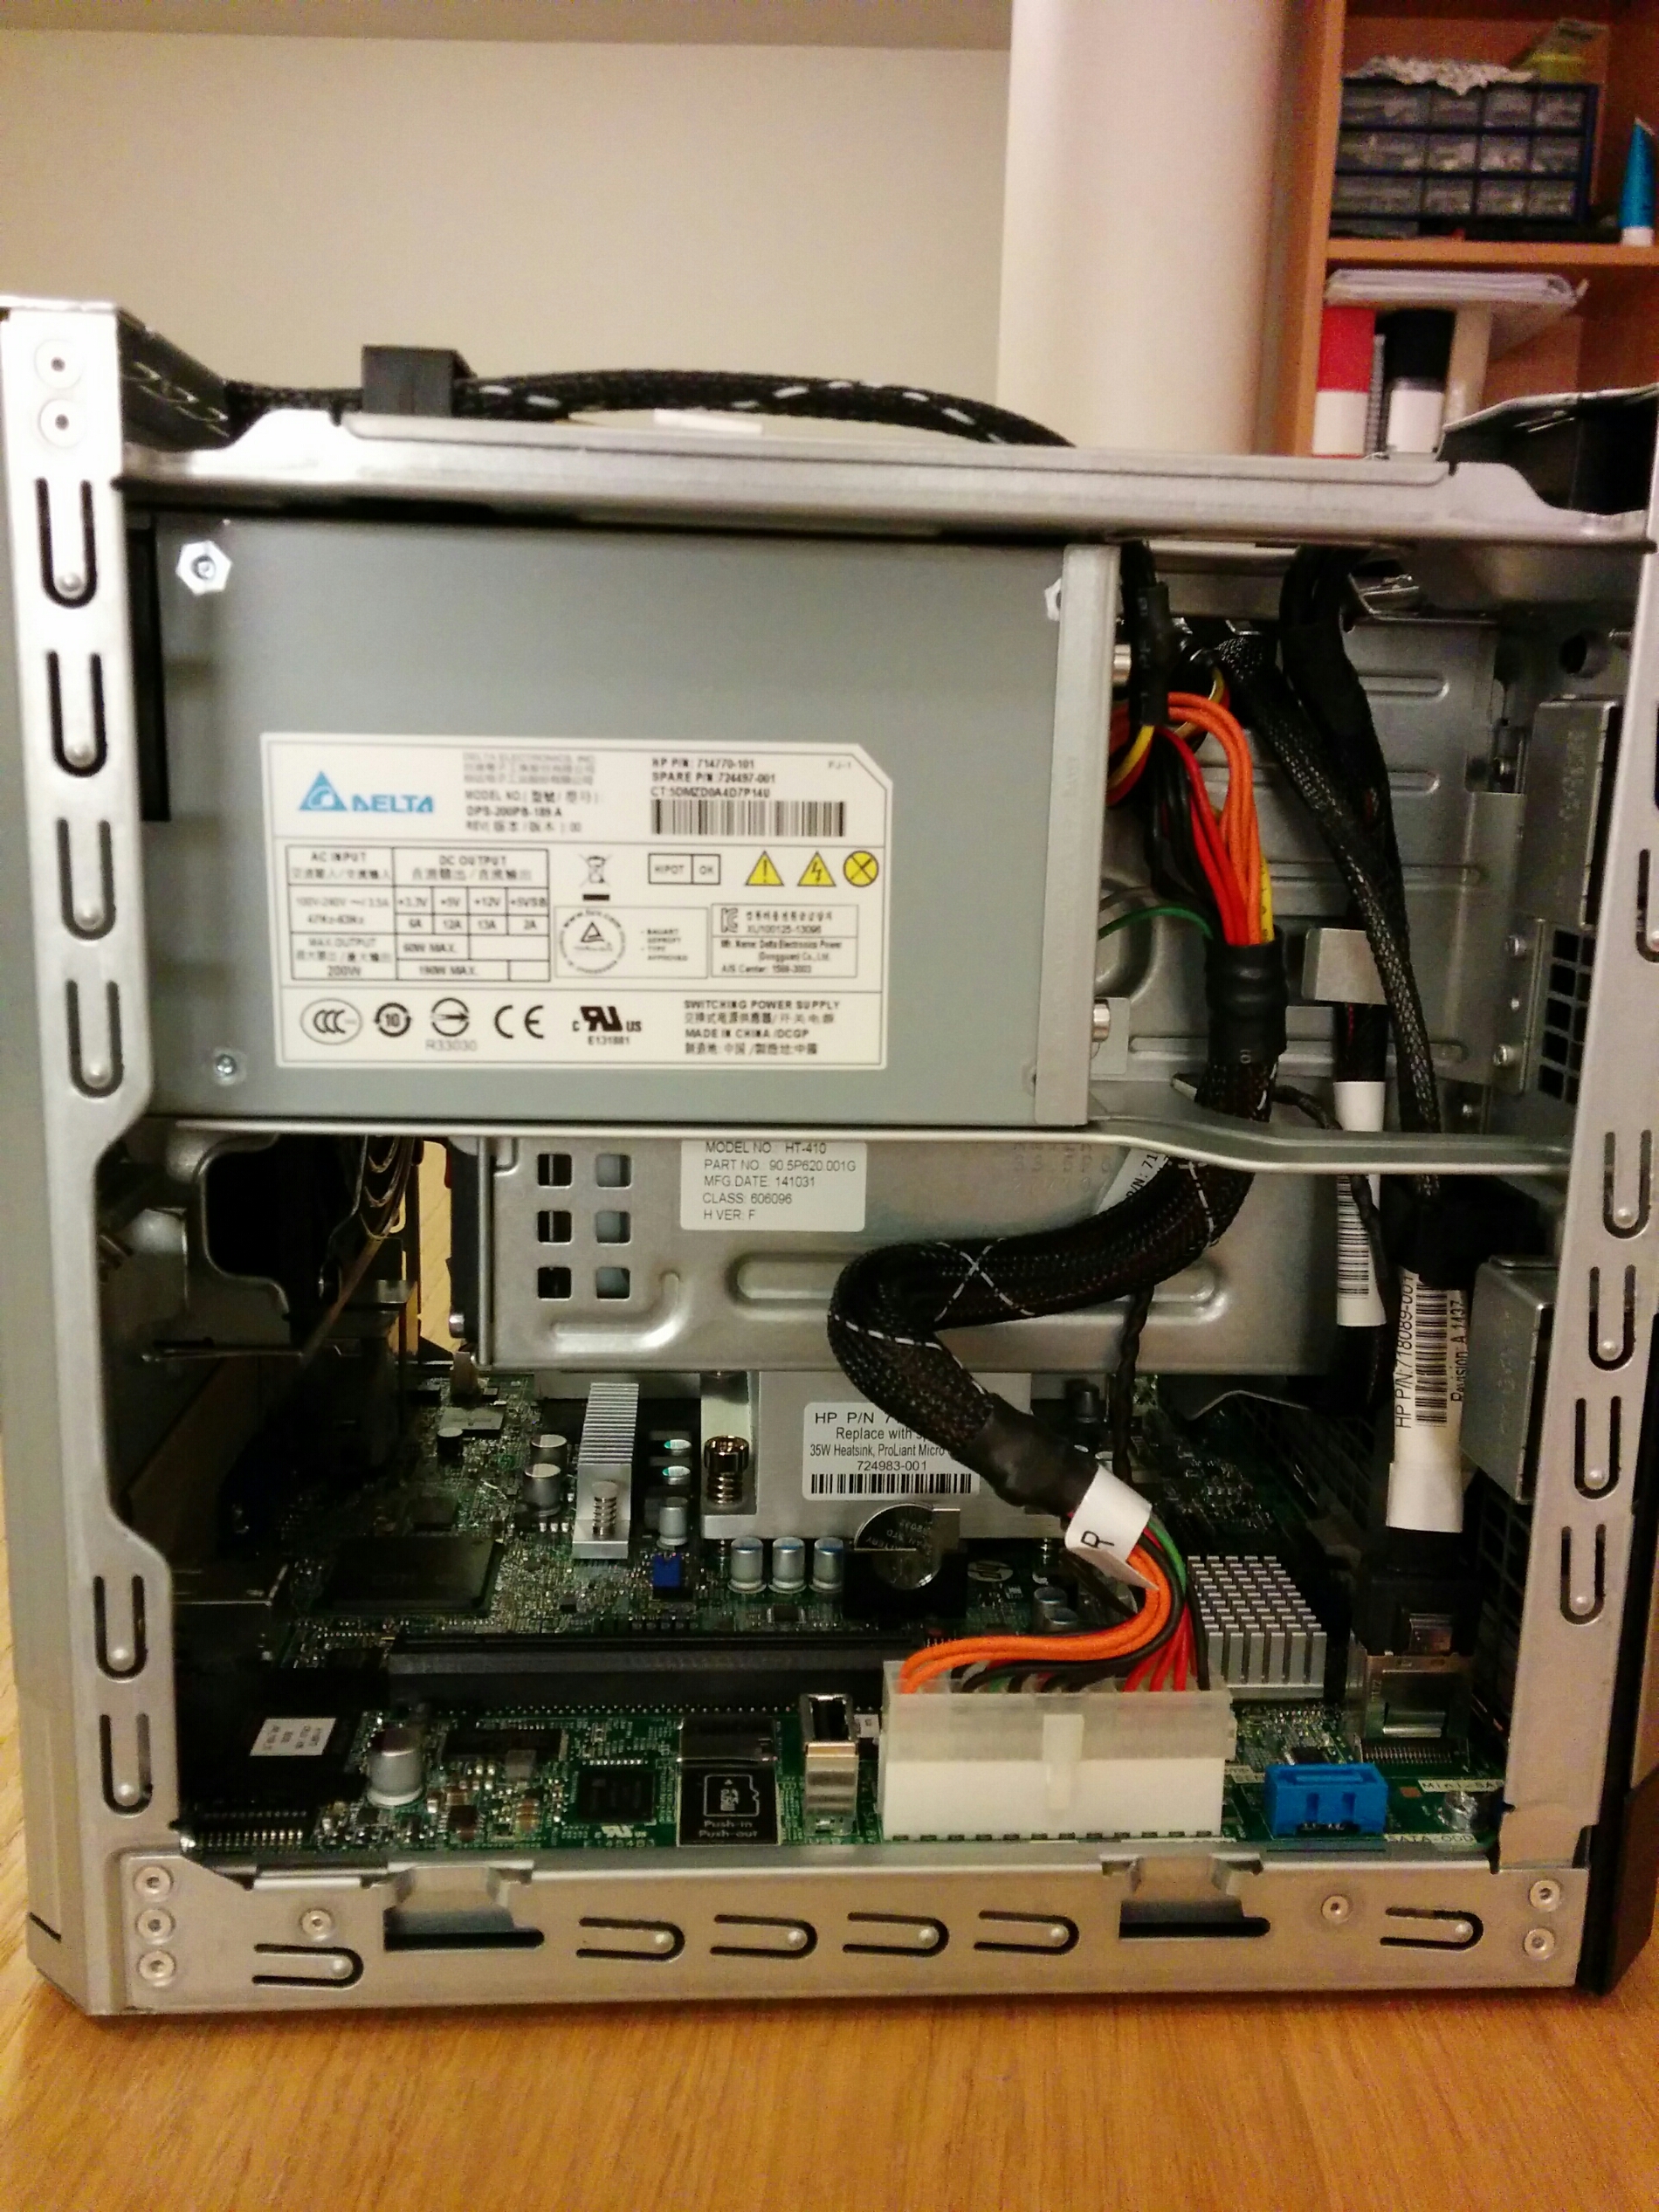
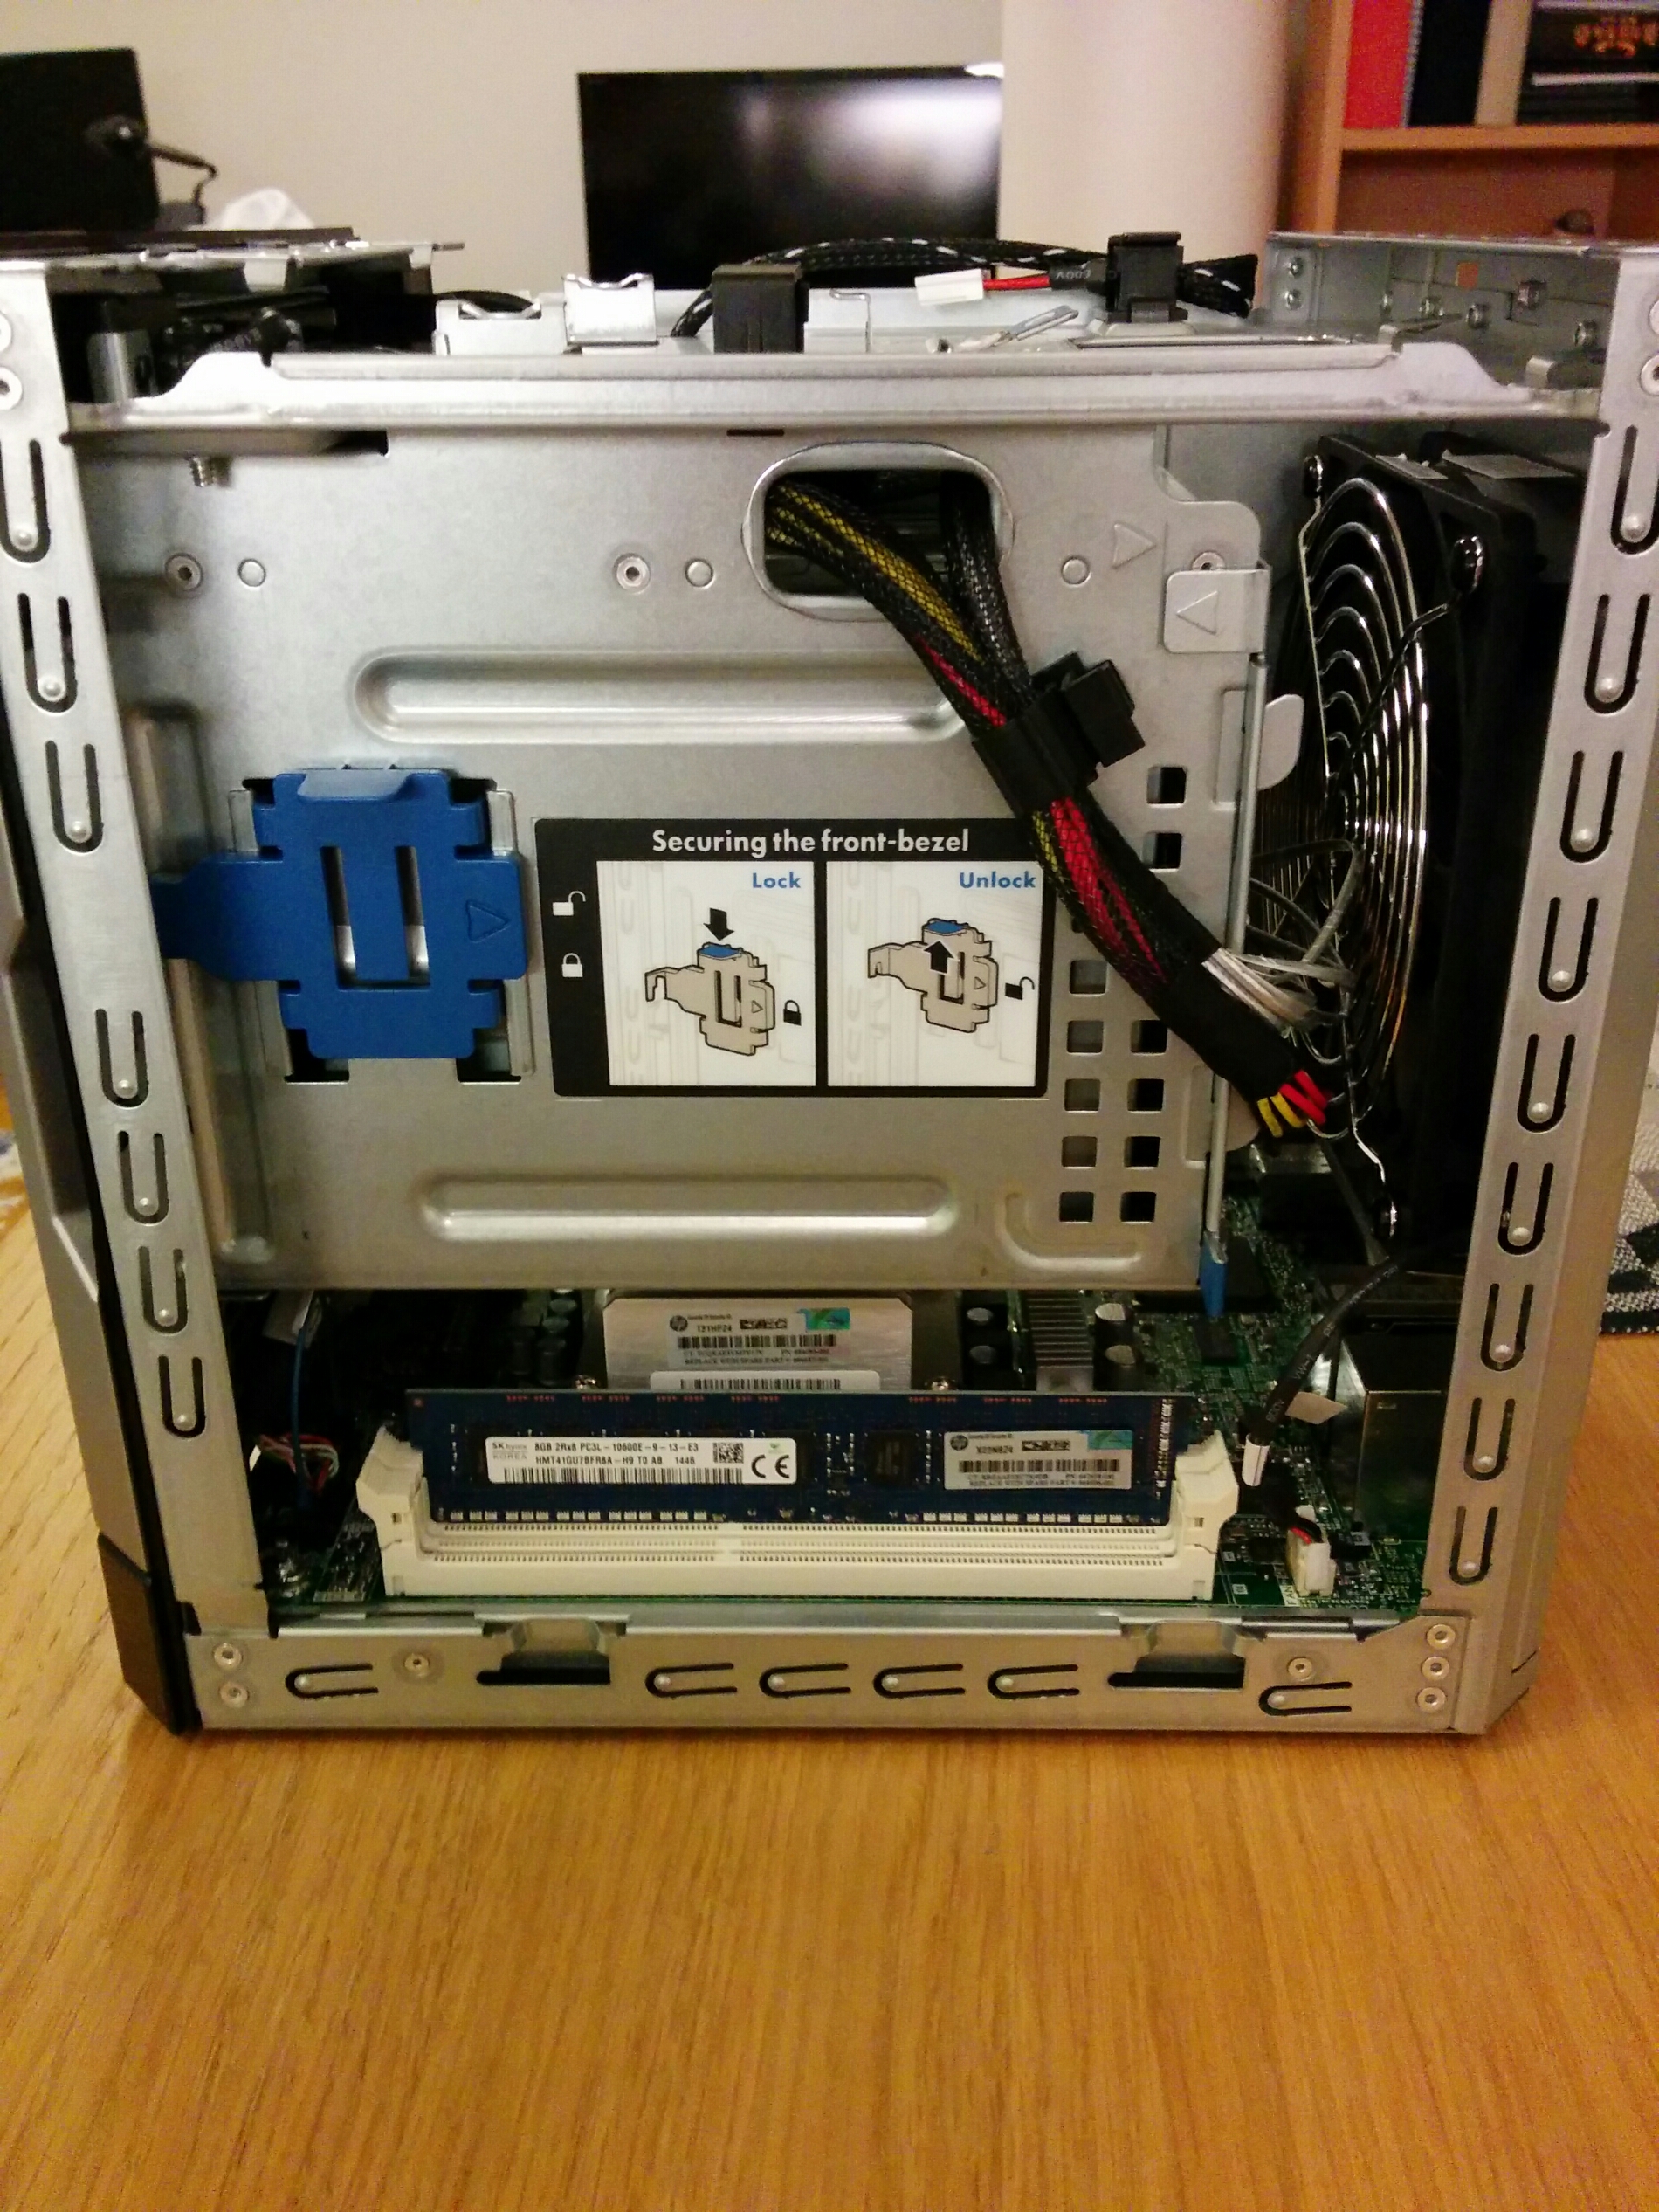
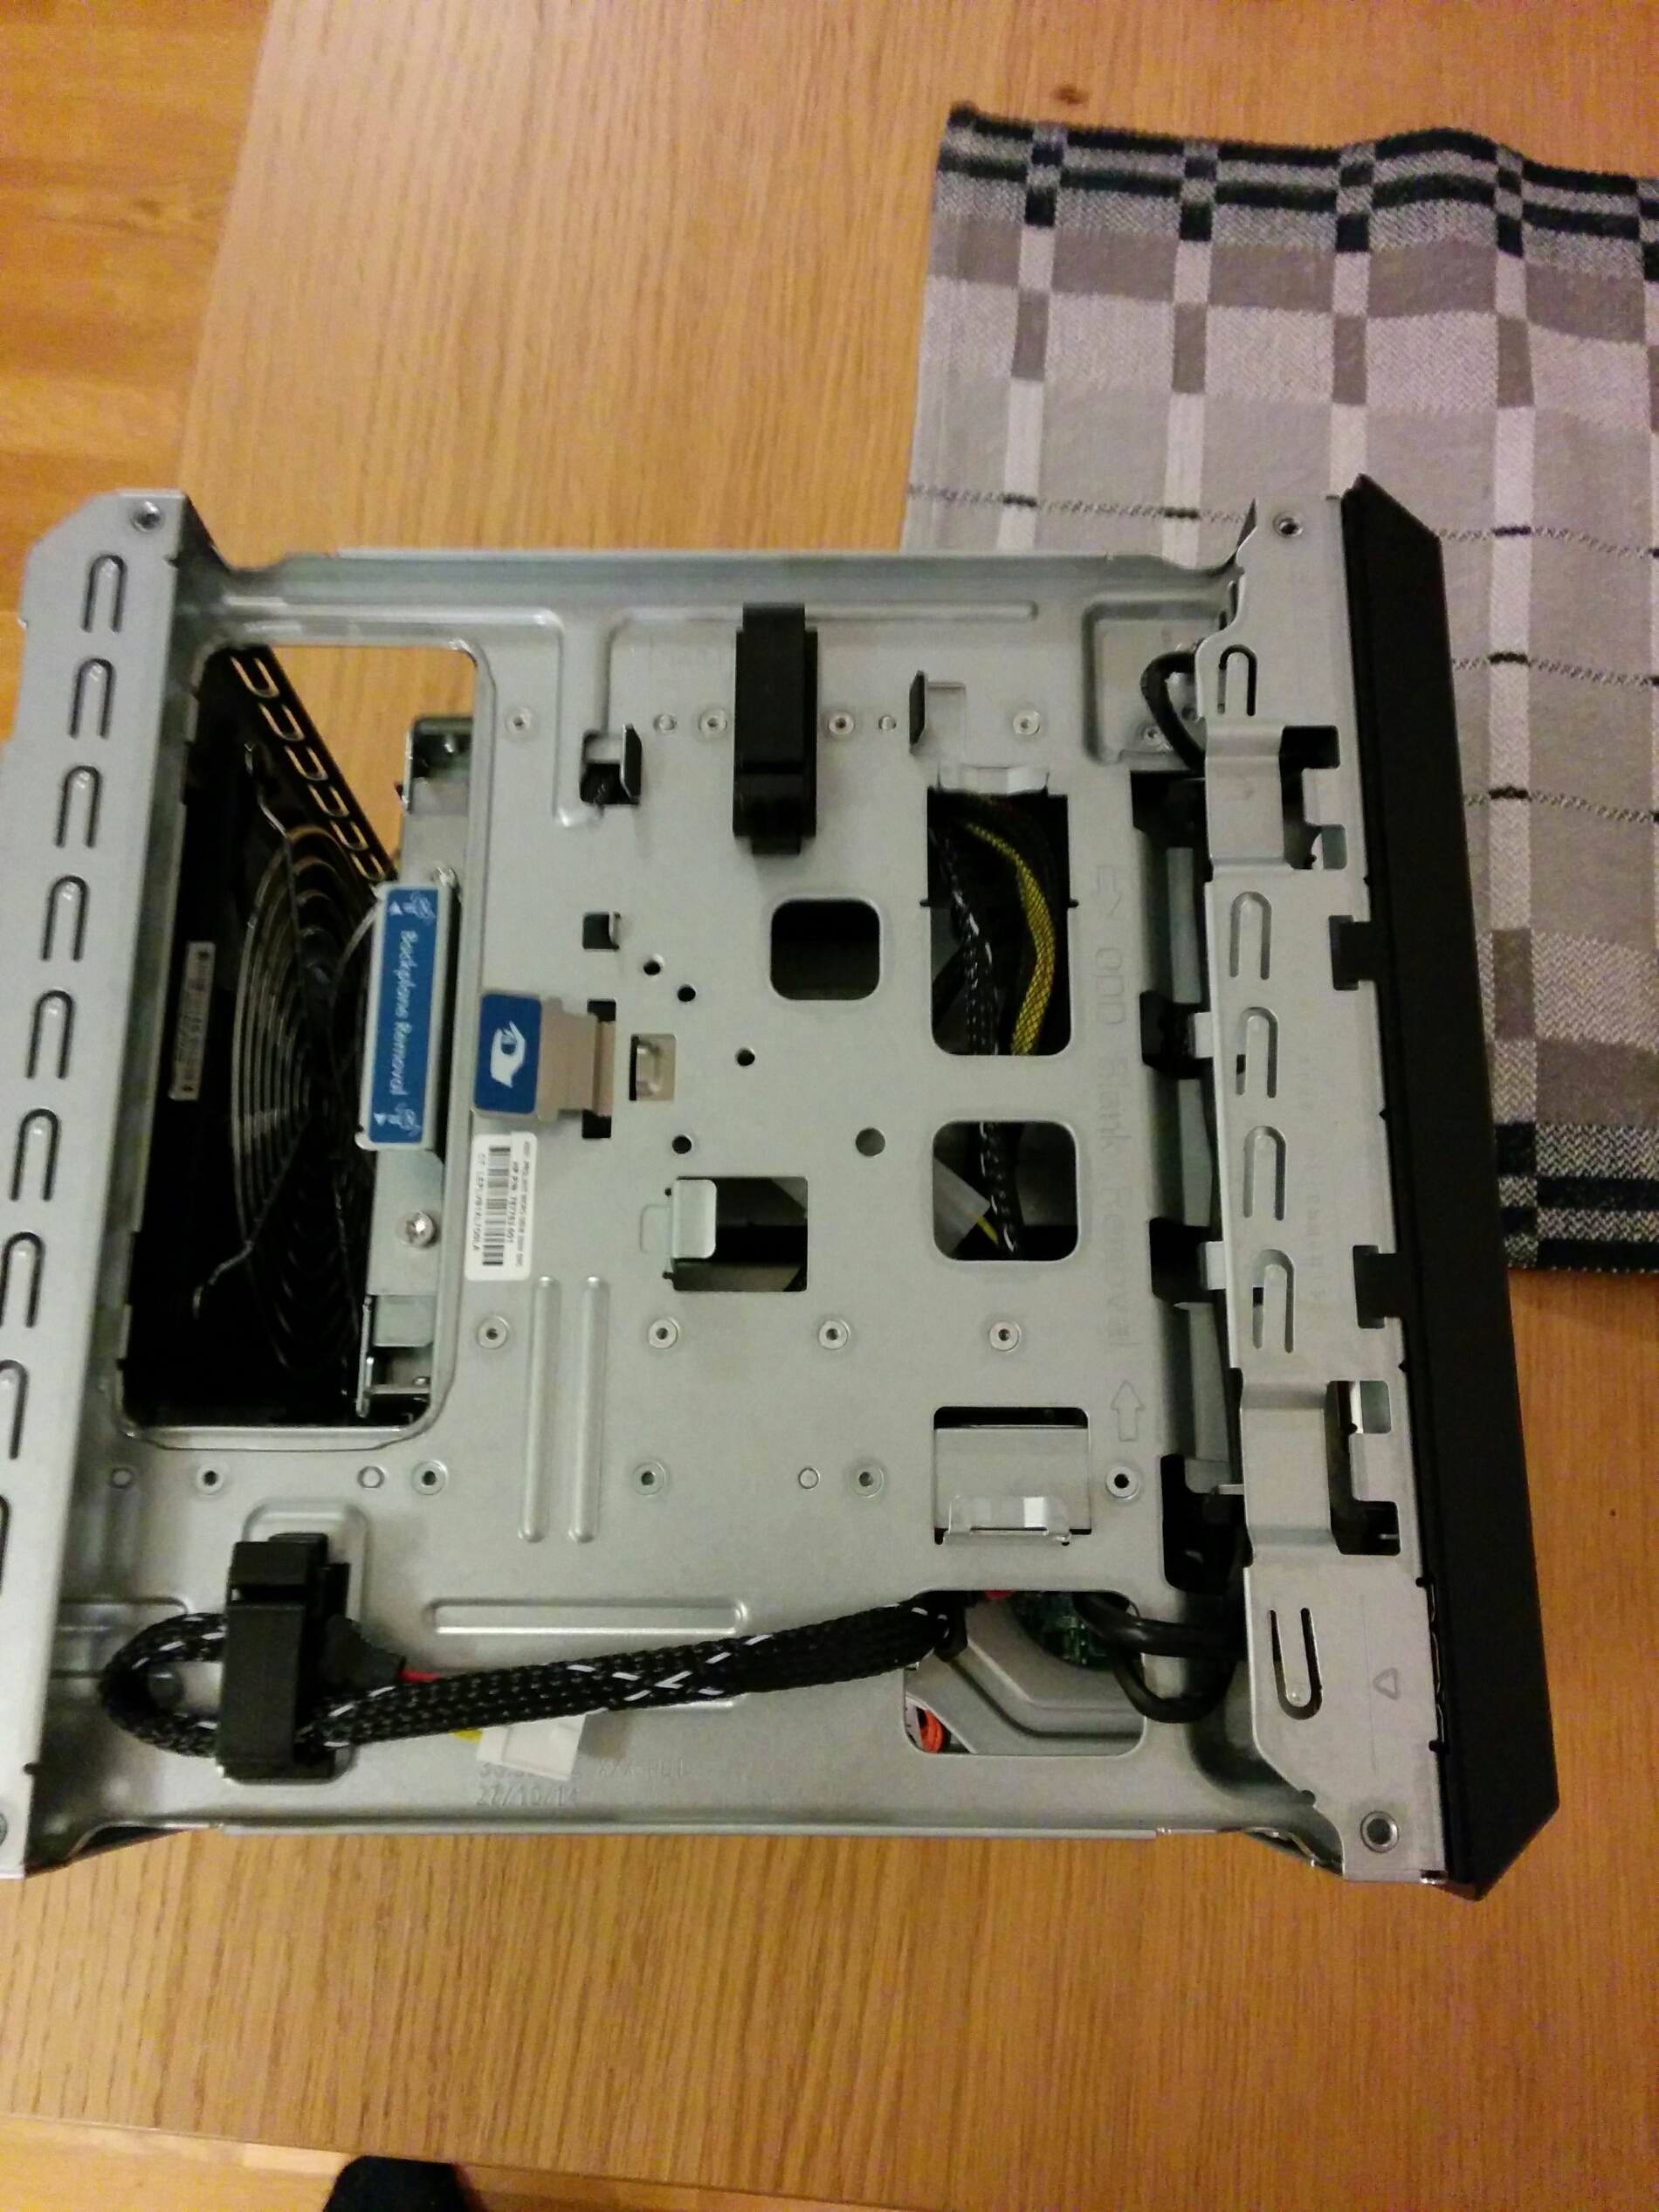
Köpt mig en HP ProLiant MicroServer Gen8 med E3 Xeon processor och 8GB RAM. Väldigt trevlig och tyst liten maskin.

Köpt lite literatur…

Thursday, November 6th, 2014


Dags att läsa lite om den så kallade röd mössan 🙂 . Se om man kanske ska certa nått sen det får man se men vore kanske inte fel att ha ett cert på linux sidan.

Jobbat lite…

Thursday, October 23rd, 2014

image

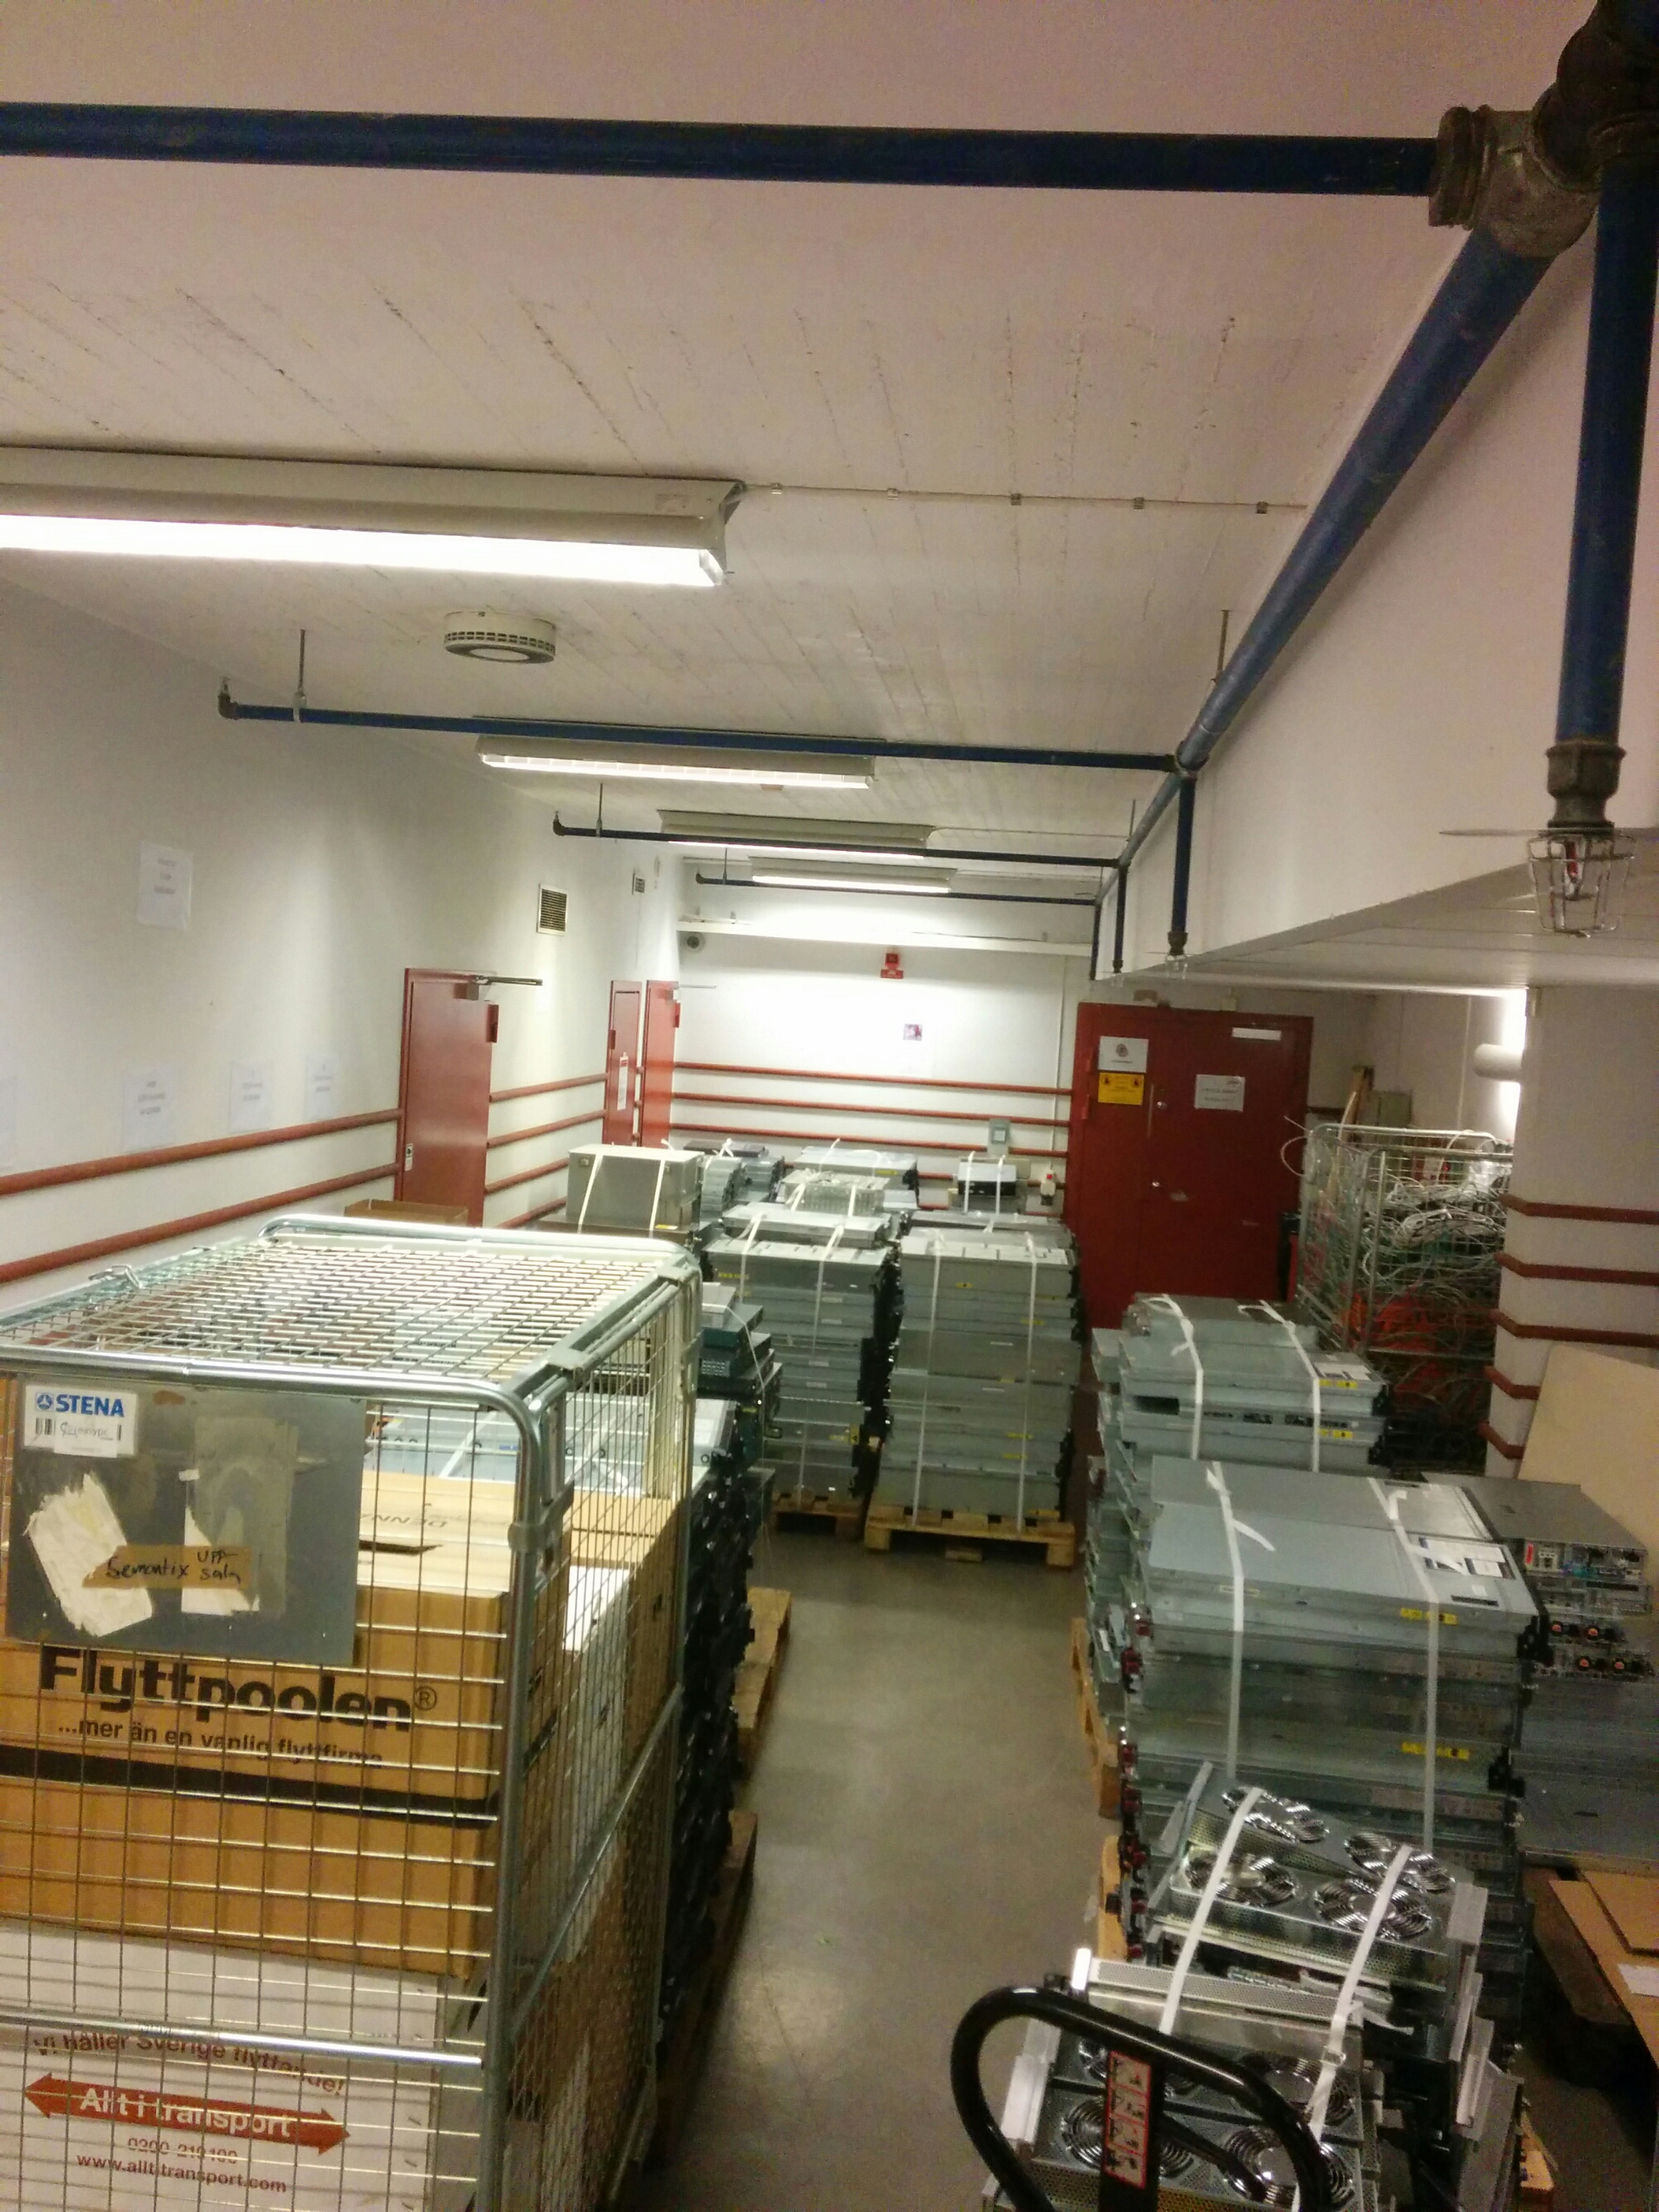
Det har blivit dags att kasta lass nummer två av servrar 🙂 är väl bara 19 pall som ska skrotas ut. Väldigt bra samarbete mellan projektet och mitt team.

image

Börjar ta sig på lagret med riktigt fint och sorterat av det som ska sparas för nu 🙂 . Är lite störe kvantiteter här än på gamla jobbet med.